Looking to give your table top a smooth and flawless finish? Wondering if you can achieve that by hand planing? Well, you’ve come to the right place! In this article, we’ll explore the question, “Can you hand plane a table top?” and unravel the ins and outs of this woodworking technique. So, grab your tools and let’s dive in!
Hand planing is a time-honored method of shaping and smoothing wood surfaces using a hand-held plane. But can it be used to refine a table top? The answer is a resounding yes! Hand planing offers a unique touch to woodworking, allowing you to unleash your creativity and achieve a beautiful, handcrafted result that can’t be replicated by machinery alone. In this guide, we’ll walk you through the steps and considerations to hand planing your table top effectively.
Whether you’re a seasoned woodworker or just starting out on your woodworking journey, learning about hand planing a table top can open up a world of possibilities. So, let’s explore the techniques, tools, and tips that will take your woodworking skills to the next level. By the end of this article, you’ll be ready to tackle your table top project with confidence and precision. Let’s get started!
1. Prepare the table top by removing any existing finish.
2. Secure the table top to a workbench or sawhorses.
3. Choose a suitable hand plane for the job.
4. Begin planing the table top, starting at one end and working your way across.
5. Continue planing until you achieve your desired smoothness.
6. Finish off with sandpaper for an even smoother surface.
Hand planing a table top can be a rewarding woodworking project that adds a personal touch to your furniture. Happy planing!

Can You Hand Plane a Table Top?
Hand planing is a traditional woodworking technique that has been used for centuries to smooth and shape wood surfaces. But can you hand plane a table top? In this article, we will explore the process of hand planing a table top, including the tools and techniques involved. Whether you are a woodworking enthusiast looking to add a personal touch to your furniture or a professional craftsman seeking to achieve a certain level of precision, hand planing can be a rewarding and effective method for refining a table top’s surface.
The Basics of Hand Planing
Hand planing involves using a hand tool called a hand plane to remove thin shavings of wood from the surface of a workpiece. The hand plane typically consists of a sharp iron blade housed in a bed or “sole” that is propelled forward by hand pressure. By adjusting the blade’s position and angle in relation to the workpiece, you can control the amount of material being removed and achieve the desired level of smoothness.
When it comes to hand planing a table top, there are a few important factors to consider. First, the condition of the table top is crucial. If the surface is rough or uneven, it may require preliminary steps such as sanding or scraping before hand planing can be effective. Additionally, the type of wood and its grain orientation will impact the ease and quality of the hand planing process. Hardwoods with tight and straight grains are generally more suitable for hand planing than softwoods with irregular grains.
The Tools and Techniques
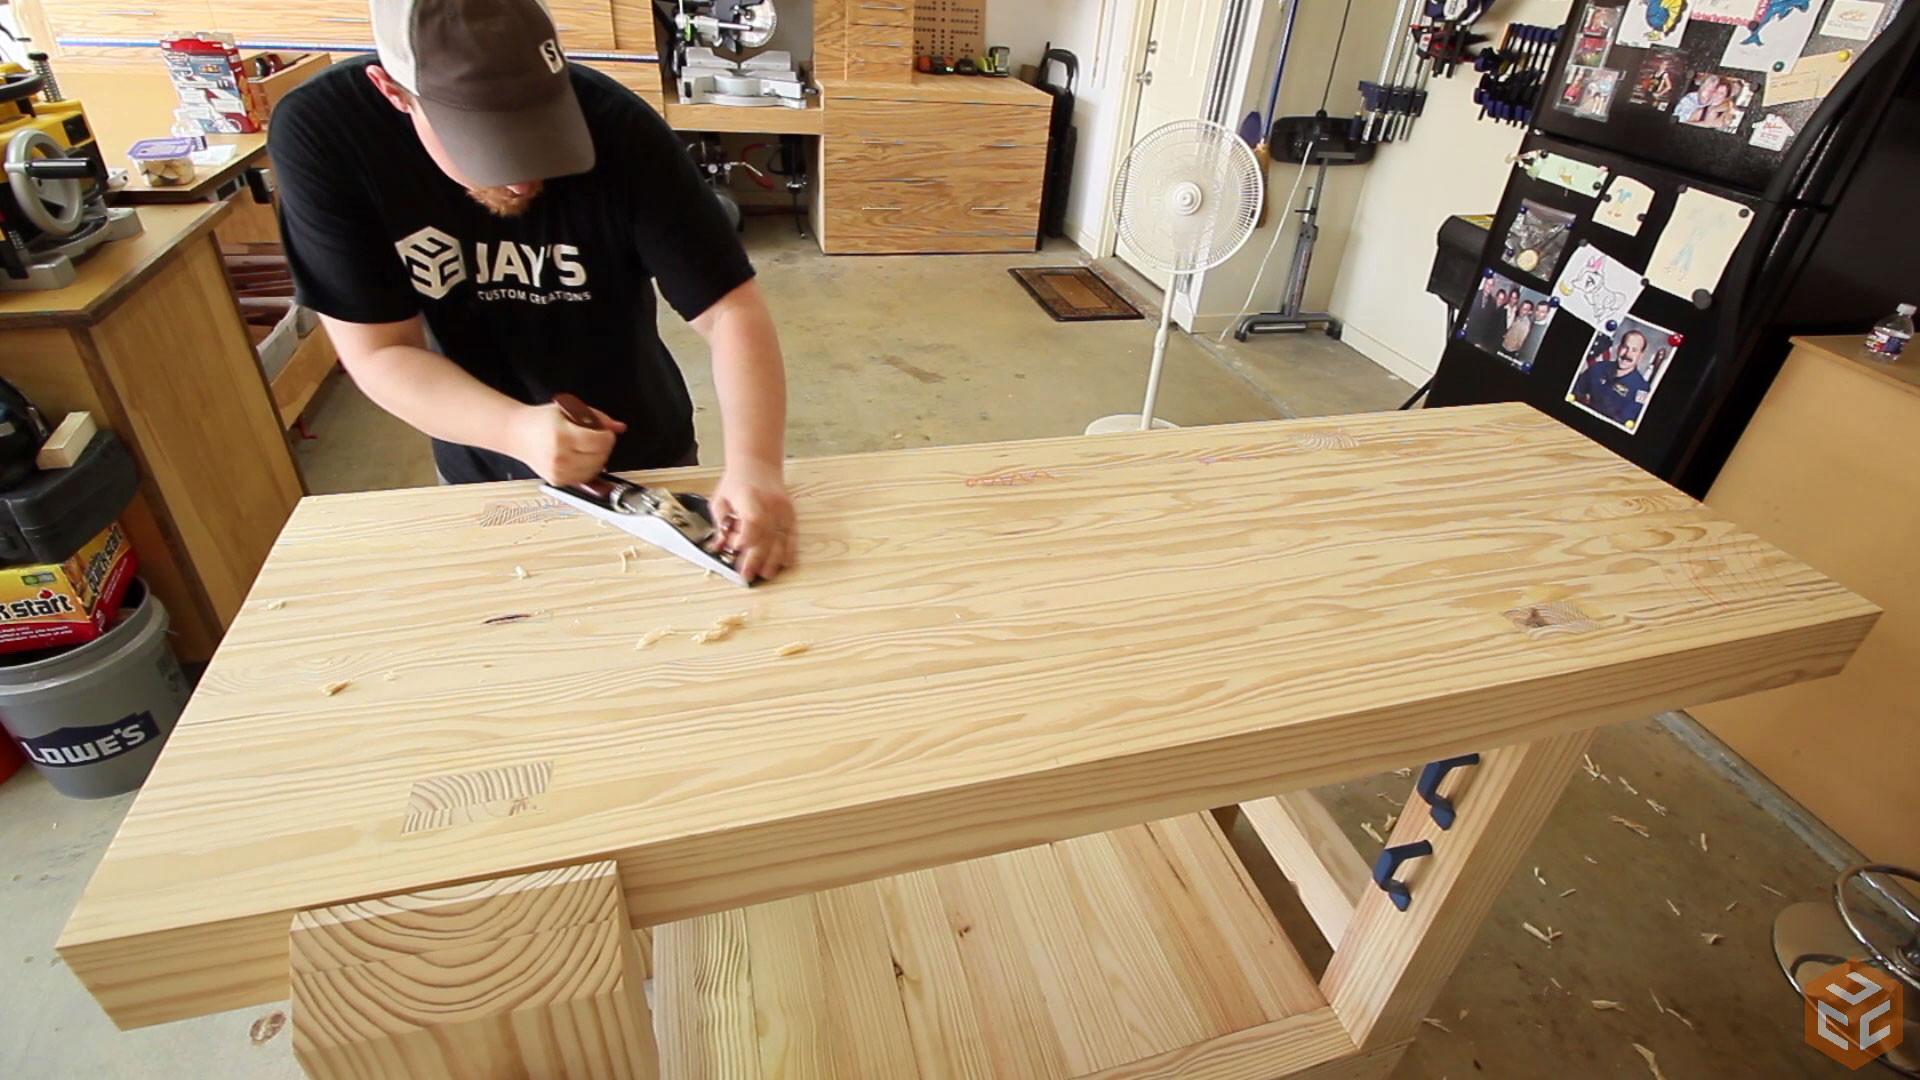
To hand plane a table top, you will need a few essential tools. The most important tool is, of course, the hand plane itself. There are various types of hand planes available, but for table top planing, a bench plane or a smoothing plane is commonly used. These planes have a shorter sole, making them easier to handle on large surfaces.
Before starting, ensure that the plane’s blade is sharp and properly adjusted. Dull or misaligned blades can cause tear-out or uneven cuts. Take the time to hone the blade and set it to an appropriate cutting depth. When planing the table top, start at one end and work your way towards the other, making overlapping passes to ensure even removal of material. Apply even pressure and maintain a consistent movement to achieve a smooth and level result.
Throughout the process, it’s important to periodically check the surface with a straightedge or a level to ensure that you are achieving the desired flatness. If you encounter any high spots or imperfections, adjust your planing technique accordingly.
Advantages of Hand Planing a Table Top
While power tools like electric planers and sanders may offer convenience and speed, hand planing a table top can provide unique benefits and advantages. One of the main advantages is the level of control and precision that hand planing allows. With hand tools, you can respond to the grain variations and adjust your technique accordingly, resulting in a surface that showcases the natural beauty of the wood. Hand planing also offers a tactile experience and a deeper connection to the woodworking process.
Additionally, hand planing can be a quieter and less dusty alternative to power tools. The shaving process produces long, continuous shavings that are easier to manage and dispose of compared to fine dust produced by sanding or power planing.
It’s worth mentioning that hand planing is not limited to table tops. The technique can be applied to various woodworking projects, including doors, cabinets, and other furniture pieces. By mastering the art of hand planing, you can enhance your woodworking skills and produce high-quality, handcrafted pieces that stand out.
Hand Planing Tips and Techniques
When it comes to hand planing, there are several tips and techniques that can help you achieve the best results. Whether you are a beginner or an experienced woodworker, these tips can enhance your hand planing skills and make the process more efficient and enjoyable.
1. Start with a Sharp Blade
A sharp blade is essential for effective hand planing. Dull blades will not only make the process more difficult but also result in tear-out and uneven cuts. Take the time to sharpen your blade before starting, and regularly check its sharpness throughout the hand planing process.
2. Use Proper Technique
When hand planing, it’s important to use the appropriate technique to achieve the desired results. Start with a light and consistent pressure, gradually increasing as needed. Avoid pushing down too hard, as it can lead to uneven removal of material and may cause the blade to dig into the wood.
3. Pay Attention to Grain Orientation
The direction of the wood grain plays a significant role in hand planing. Always work in the same direction as the grain to minimize tear-out and achieve a smoother surface. If the grain changes direction, adjust your planing technique accordingly.
4. Make Multiple Passes
Hand planing is a gradual process that often requires multiple passes to achieve the desired smoothness. Instead of trying to remove a large amount of material in one pass, make several light passes until you reach the desired result. This approach ensures more control and minimizes the risk of over-planing.
5. Regularly Check the Surface
Throughout the hand planing process, it’s important to frequently check the surface for flatness and smoothness. Use a straightedge or a level to identify any high spots or imperfections. By addressing these issues promptly, you can achieve a more even and refined surface.
6. Practice Patience
Hand planing takes time and practice to master. Avoid rushing through the process and be patient with yourself. Embrace the rhythm and meditative nature of hand planing, and remember that each stroke brings you closer to a beautifully crafted table top.
Hand Planing vs. Power Planing: The Pros and Cons
When it comes to planing wood, there are two primary methods: hand planing and power planing. Each method has its advantages and disadvantages, and the choice depends on various factors such as project requirements, personal preferences, and available tools.
Hand Planing
Hand planing offers a hands-on approach to woodworking and allows for greater control and precision. It is a quieter and less dusty method, as it produces shavings rather than fine dust. Hand planing also offers a tactile experience and a connection to the craft. However, it can be time-consuming, especially for larger projects, and requires more physical effort compared to power planing. Hand planing also requires a certain level of skill and practice to achieve consistent and satisfactory results.
Power Planing
Power planing, also known as thickness planing or surfacing, involves using electric or benchtop planers to remove material from the wood surface. Power planing is fast and efficient, making it ideal for large-scale projects or when time is a factor. It requires less physical effort and is generally more accessible to beginners. However, power planing can be noisy and produce a significant amount of fine dust, requiring proper dust collection systems and protective equipment. Power planing also limits the ability to respond to grain variations and may produce less handcrafted and nuanced results compared to hand planing.
Hand Planing Tips and Techniques
When it comes to hand planing, there are several tips and techniques that can help you achieve the best results. Whether you are a beginner or an experienced woodworker, these tips can enhance your hand planing skills and make the process more efficient and enjoyable.
1. Start with a Sharp Blade
A sharp blade is essential for effective hand planing. Dull blades will not only make the process more difficult but also result in tear-out and uneven cuts. Take the time to sharpen your blade before starting, and regularly check its sharpness throughout the hand planing process.
2. Use Proper Technique
When hand planing, it’s important to use the appropriate technique to achieve the desired results. Start with a light and consistent pressure, gradually increasing as needed. Avoid pushing down too hard, as it can lead to uneven removal of material and may cause the blade to dig into the wood.
3. Pay Attention to Grain Orientation
The direction of the wood grain plays a significant role in hand planing. Always work in the same direction as the grain to minimize tear-out and achieve a smoother surface. If the grain changes direction, adjust your planing technique accordingly.
4. Make Multiple Passes
Hand planing is a gradual process that often requires multiple passes to achieve the desired smoothness. Instead of trying to remove a large amount of material in one pass, make several light passes until you reach the desired result. This approach ensures more control and minimizes the risk of over-planing.
5. Regularly Check the Surface
Throughout the hand planing process, it’s important to frequently check the surface for flatness and smoothness. Use a straightedge or a level to identify any high spots or imperfections. By addressing these issues promptly, you can achieve a more even and refined surface.
6. Practice Patience
Hand planing takes time and practice to master. Avoid rushing through the process and be patient with yourself. Embrace the rhythm and meditative nature of hand planing, and remember that each stroke brings you closer to a beautifully crafted table top.
Common Questions About Hand Planing a Table Top
Hand planing a table top is a unique woodworking technique that raises various questions and concerns. In this section, we will address some common questions to provide you with a comprehensive understanding of the process.
1. Can any type of wood be hand planed?
While hand planing can be done on different types of wood, some species are more suitable than others. Hardwoods with tight and straight grains, such as maple or oak, are generally easier to hand plane and result in smoother surfaces. Softwoods with irregular grains, such as pine or cedar, may require additional techniques to achieve desirable results.
2. How long does it take to hand plane a table top?
The time required to hand plane a table top depends on various factors, including the size of the table, the condition of the surface, and your level of skill. Smaller tables with relatively smooth surfaces may take a few hours, while larger and rougher tables can require several days or more. It’s important to approach hand planing with patience and allocate enough time to achieve the desired results.
3. Do I need to sand the table top after hand planing?
While hand planing can leave a relatively smooth surface, it may still require sanding to achieve the desired level of smoothness and refinement. The amount of sanding needed depends on the quality of the hand planing and personal preferences. Start with a higher grit sandpaper and gradually work your way to finer grits until the surface feels and looks satisfactory.
4. Can I use hand planes on curved table tops?
Hand planes are primarily designed for flat surfaces and may not be suitable for curved table tops. For curved surfaces, other tools such as spokeshaves or rasps are usually more effective. These tools are specifically designed to shape and smooth curved surfaces, providing better control and maneuverability.
5. What should I do if I encounter tear-out while hand planing?
Tear-out, which refers to the grain being torn out along the wood surface, can be a frustrating issue when hand planing. To minimize tear-out, adjust your planing technique by changing the direction of your strokes or decreasing the cutting depth. You can also try hand planing at a skew angle or using a higher cutting angle to reduce tear-out.
Summary
Hand planing a table top is a rewarding and intricate process that can yield impressive results. By understanding the basics of hand planing, utilizing proper techniques, and practicing patience, you can achieve a smooth, refined surface that showcases the natural beauty of the wood. While hand planing may require more time and effort compared to power planing, the level of control and precision it offers is unmatched. Whether you are a woodworking enthusiast or a professional craftsman, incorporating hand planing into your woodworking repertoire can enhance your skills and enable you to create unique, handcrafted pieces that stand the test of time.
Can You Hand Plane a Table Top?
- Yes, you can hand plane a table top to achieve a smooth and flat surface.
- Hand planing requires skill and patience, but it can be a rewarding woodworking technique.
- Before starting, make sure you have a sharp hand plane and secure the table top properly.
- Take light passes with the plane in the direction of the wood grain to gradually remove material.
- Regularly check the flatness of the table top with a straight edge or winding sticks.
Frequently Asked Questions
Welcome to our FAQ section on hand planing a table top!
1. How can I hand plane a table top?
To hand plane a table top, you’ll need a few tools: a hand plane and sandpaper. Start by removing any existing finish from the table top. Then, use the hand plane to smooth out any uneven areas, working in the direction of the grain. Take your time and apply consistent pressure to achieve an even surface. Once you’re satisfied with the smoothness, use sandpaper of various grits to further refine the surface. Remember to always work with the grain to avoid tearing the wood fibers.
Hand planing a table top can be a satisfying and rewarding process, but it does require some practice to get the technique just right. Start with a small section of the table top and gradually work your way across the entire surface. Take breaks if needed to avoid fatigue and maintain focus. With patience and practice, you’ll be able to achieve a beautifully hand planed table top.
2. Do I need any special skills or experience to hand plane a table top?
While hand planing a table top does require some skills and experience, it is not impossible for beginners to learn. Familiarizing yourself with the proper technique and practicing on scrap wood before working on the actual table top can help you hone your skills. Additionally, watching tutorial videos and seeking guidance from experienced woodworkers can provide valuable insights.
Remember that hand planing requires attention to detail, patience, and a steady hand. Learning to read the wood grain and adjusting the plane’s settings accordingly takes time. Don’t be discouraged if you don’t achieve perfection on your first try. With practice and perseverance, you’ll gradually improve your hand planing skills.
3. Can I hand plane a table top if it has a thick or uneven finish?
If your table top has a thick or uneven finish, it is recommended to remove it before attempting to hand plane. A hand plane works best on a smooth and even surface, allowing you to achieve the desired level of smoothness. Using a scraper or a chemical paint stripper can be effective in removing the existing finish layer. Once the surface is free from any obstacles, you can proceed with hand planing to level and smooth the table top.
It’s important to note that hand planing can remove a small amount of material from the table top, so it’s always a good idea to measure and plan accordingly, especially if you have a thin surface or if you only want to remove a minimal amount of material. Take gradual passes with the hand plane to ensure you don’t remove too much wood at once.
4. Are there any alternative methods to hand planing a table top?
Yes, there are alternative methods to hand planing a table top. If you don’t have access to a hand plane or if you prefer a different approach, you can consider using a power planer, a hand-held electric tool that can quickly and efficiently remove material from the surface. Power planers are especially useful for larger surfaces and when you need to remove a significant amount of material.
Another alternative is sanding the table top using an orbital sander or a belt sander. While sanding may take longer than using a hand plane, it is a viable option for achieving a smooth and even surface. Start with a coarse grit sandpaper and gradually work your way to finer grits to achieve the desired level of smoothness. Remember to also sand with the grain to avoid scratches or tear-out.
5. How can I maintain a hand planed table top?
To maintain a hand planed table top, it’s important to regularly clean and protect the surface. Use a soft, lint-free cloth to remove dust and debris. Avoid using harsh chemicals or abrasive cleaners that can damage the wood. Instead, consider using a wood-specific cleaner or a mild soap diluted in water. Apply a protective finish, such as wax or polyurethane, following the manufacturer’s instructions to ensure proper application and long-lasting protection.
In addition to regular cleaning and applying protective finishes, it’s recommended to avoid placing hot or wet items directly on the table top and to use coasters and trivets to protect the surface from scratches and heat marks. Finally, be mindful of the table top’s exposure to direct sunlight, as prolonged exposure can cause fading or discoloration. By following these maintenance tips, you can enjoy a well-cared-for hand planed table top for years to come.
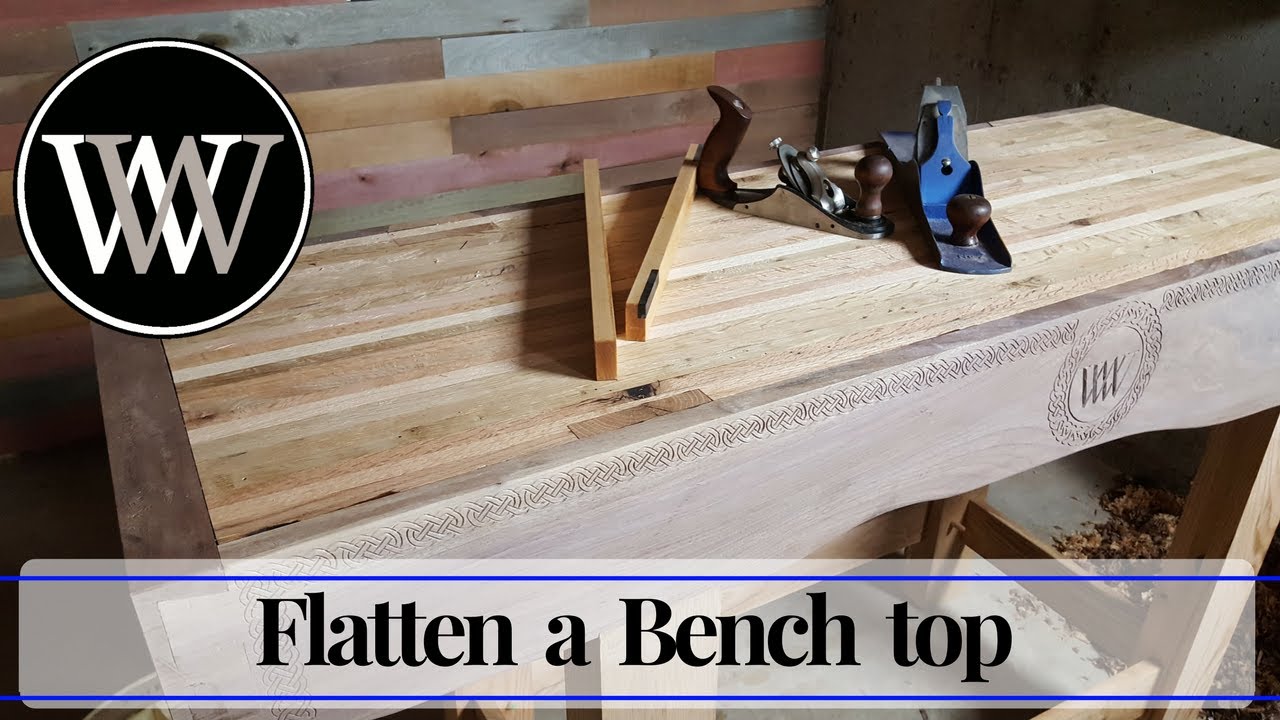
How to Flatten a Bench Top or Any Slab With Only Hand Tools
Summary
So, can you hand plane a table top? Absolutely! Hand planing can be a great way to smooth out imperfections and create a beautiful finish. Just remember to prepare the surface properly, choose the right plane for the job, and take your time to achieve the desired results.
However, it may require some practice and patience to master this technique. Remember to follow safety precautions and seek guidance from an experienced adult when necessary. Happy planing!