If you’ve ever worked on a woodworking project, you may have wondered, “Is sawdust and wood glue stainable?” Well, my curious friend, you’ve come to the right place to find out! In this article, we’ll explore this question and shed some light on whether sawdust and wood glue can be effectively stained.
Now, I know you’re eager to uncover the answer, so let’s dive right in. Staining wood can enhance its natural beauty and add depth to your projects. But when it comes to using sawdust and wood glue, things can get a little tricky. So, can you stain a surface that has been filled with sawdust and glued together? Let’s find out!
Join me as we unravel the mysteries of woodworking and learn if you can achieve a beautiful stain on surfaces that involve sawdust and wood glue. Get ready to discover some amazing insights!
Looking to stain your woodworking project? Sawdust and wood glue can be a great option! By mixing sawdust with wood glue, you can create a stainable paste. Simply follow these steps:
- Gather sawdust and wood glue.
- Mix the two ingredients together until you get a thick paste.
- Apply the paste onto the wood surface using a brush or cloth.
- Let it dry completely.
- Sand the surface to achieve the desired finish.
With this method, you can create a stainable surface that perfectly matches your woodworking project. Give it a try and bring your creations to life!

Is Sawdust and Wood Glue Stainable?
Sawdust and wood glue are commonly used materials in woodworking projects, but can they be stained? In this article, we will explore whether sawdust and wood glue can be successfully stained, the techniques to achieve the desired results, and some tips to keep in mind when working with these materials. Whether you are a woodworking enthusiast or a DIYer, understanding the stainability of sawdust and wood glue can help you create beautiful finishes on your projects.
How Does Stain Work on Sawdust?
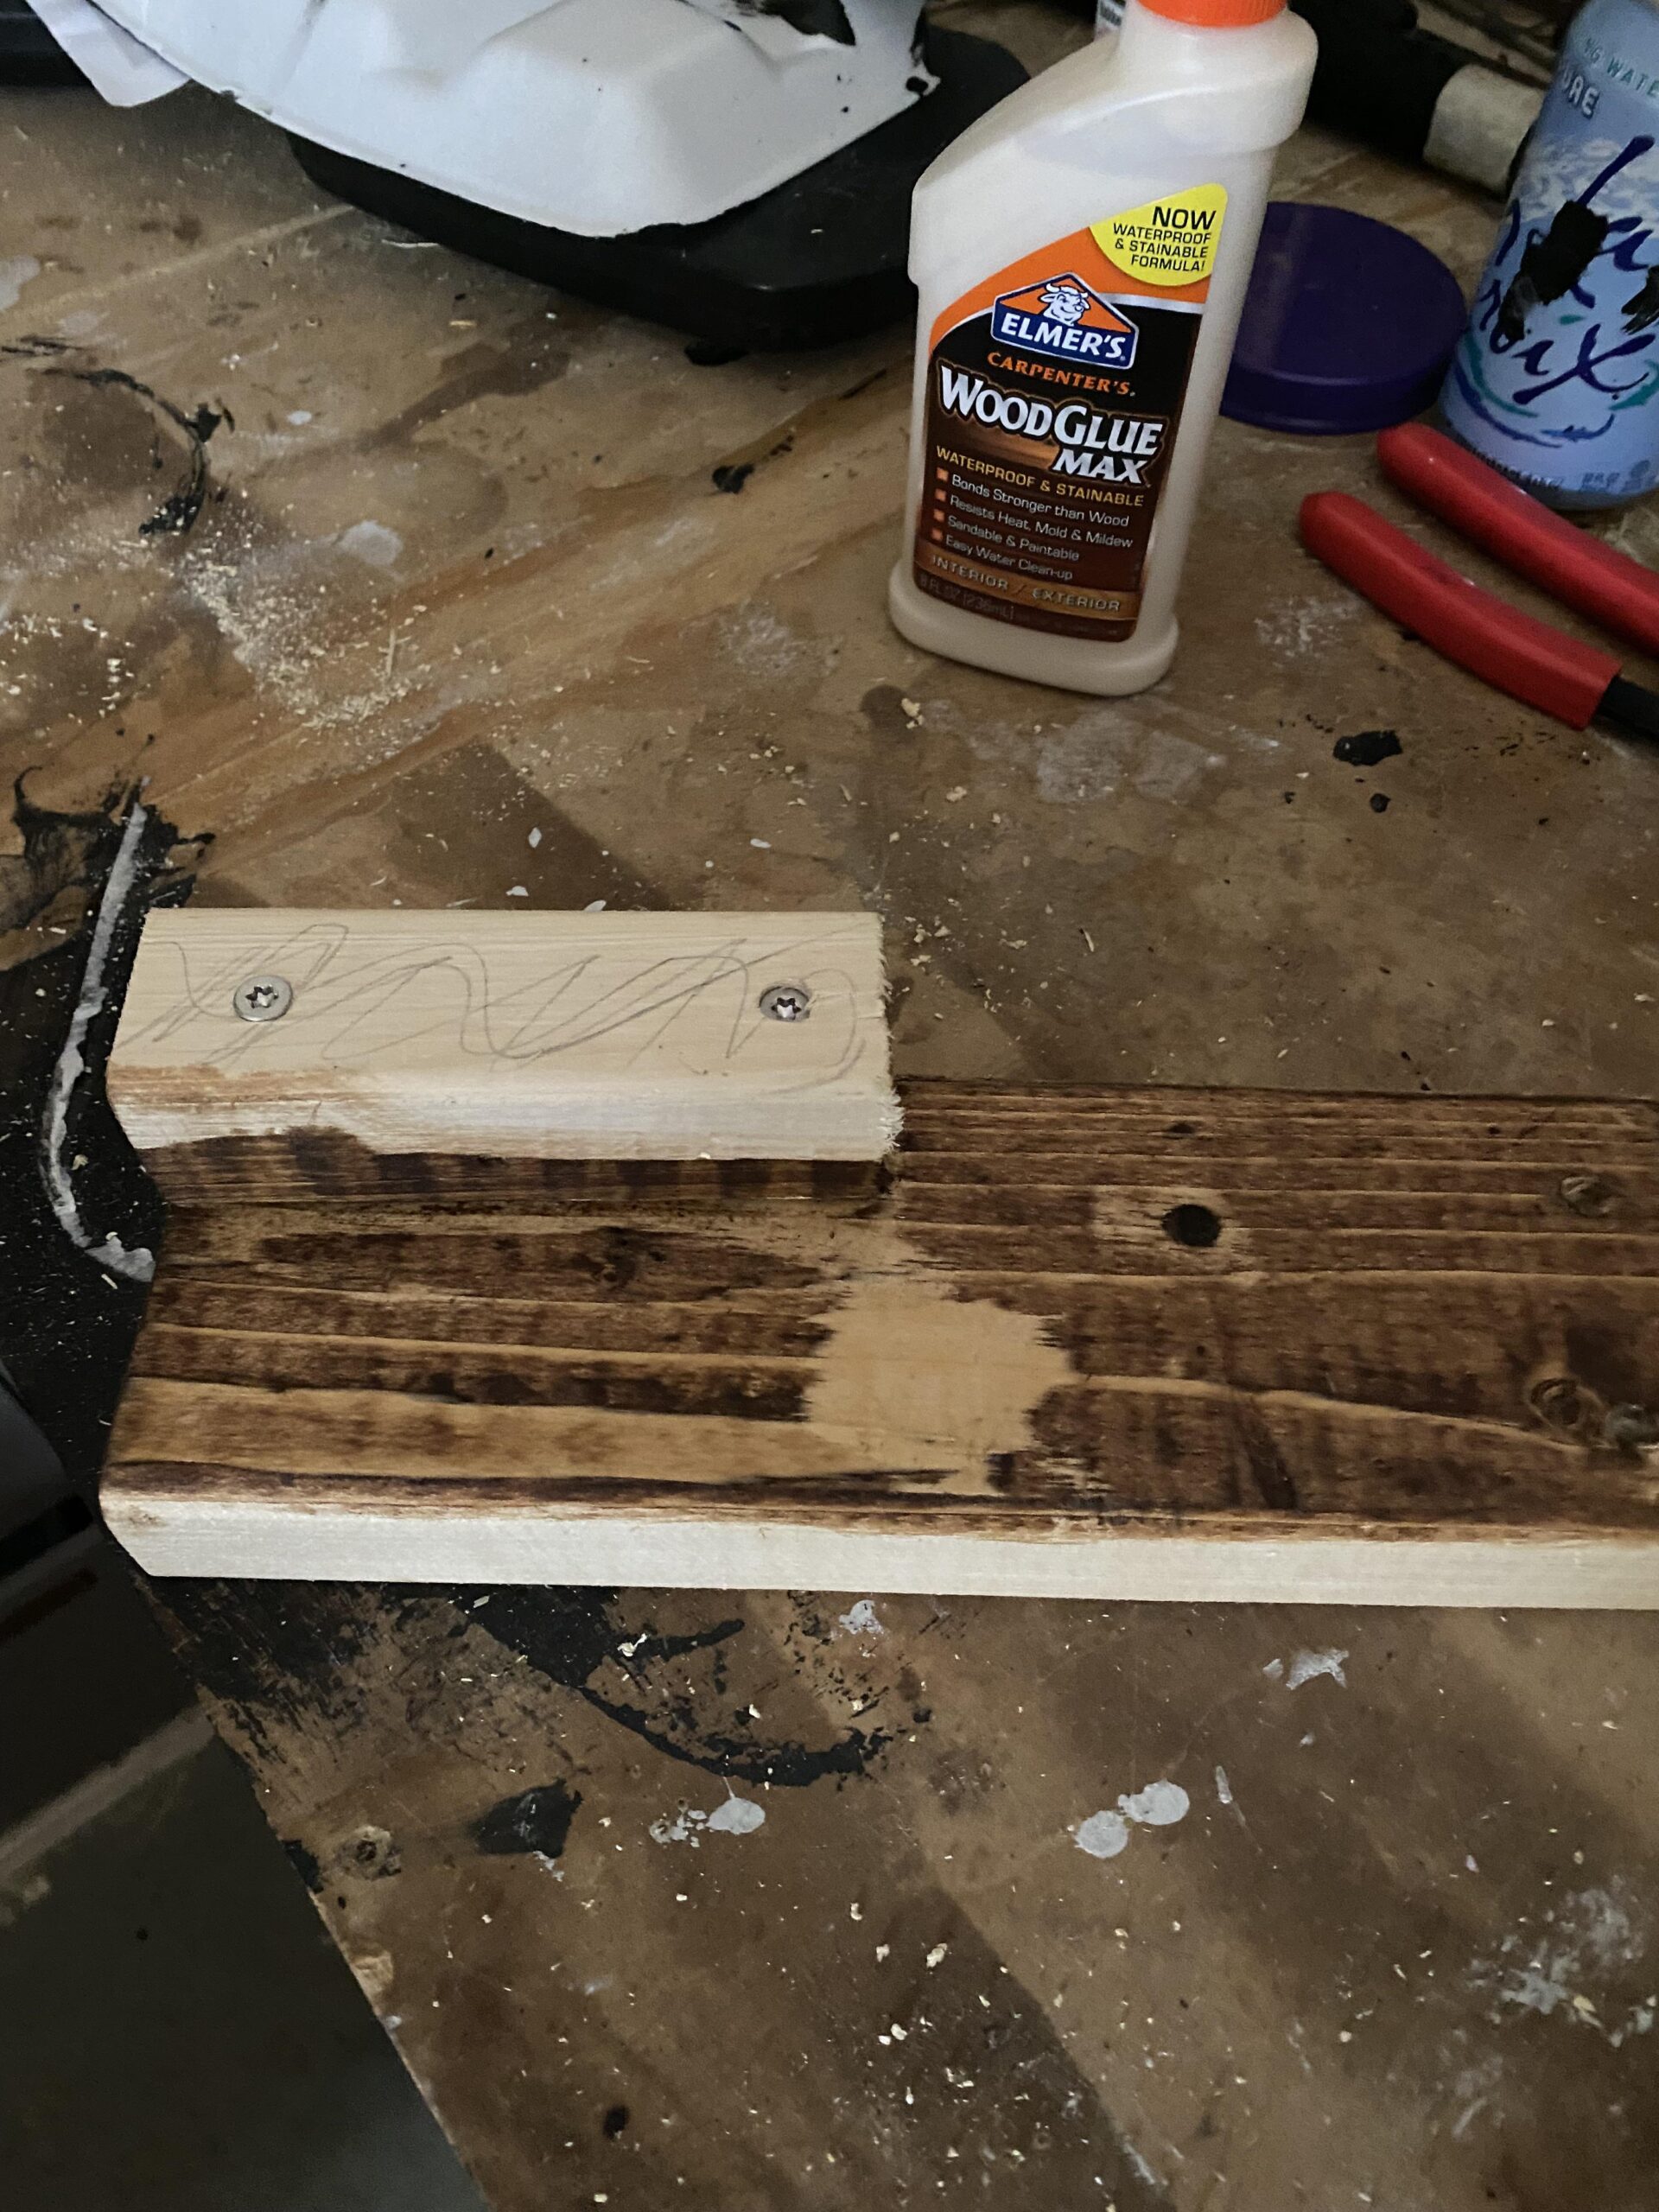
Sawdust is a byproduct of cutting or sanding wood, and it consists of tiny wood particles. When mixed with wood glue, which is a binding agent, it forms a paste-like substance that can be used to fill in gaps, cracks, or holes in wood surfaces. However, the structure of sawdust and wood glue differs from solid wood. The porous nature of wood allows it to readily absorb stain, while sawdust and wood glue can be a bit more challenging to stain evenly.
Staining sawdust and wood glue requires careful application and technique to ensure an even and consistent color. The physical properties of the materials can affect how well they absorb stain, leading to variations in the final result. Let’s dive deeper into some techniques and considerations for staining sawdust and wood glue.
1) Technique for Staining Sawdust and Wood Glue
When it comes to staining sawdust and wood glue, the key is to approach it as a two-step process. First, you need to prep the material and create a consistent base color. This involves mixing sawdust and wood glue to create a paste, filling in any gaps or imperfections in the wood surface. Allow the paste to dry completely before moving on to the next step.
Once the paste is dry, you can proceed with staining the surface. Apply the stain evenly, using a brush or a cloth, ensuring complete coverage. It is important to work in small sections to prevent the stain from drying before it can be spread evenly. After applying the stain, allow it to penetrate the surface for the recommended amount of time specified by the manufacturer. Finally, wipe off any excess stain with a clean cloth.
Keep in mind that the color of the stain on sawdust and wood glue may appear slightly different compared to solid wood due to variations in absorption and texture. It is always a good idea to test the stain on a small inconspicuous area before applying it to the entire surface.
2) Tips for Staining Sawdust and Wood Glue
When working with sawdust and wood glue, here are a few tips to help you achieve the best staining results:
- Choose the right type of stain: Opt for a penetrating stain that is specifically designed for porous surfaces like wood. This type of stain will have better absorption properties and will work well on sawdust and wood glue.
- Prep the surface properly: Ensure that the surface is clean, dry, and free of any dust or debris before applying the stain. This will help the stain adhere evenly and prevent any unwanted discoloration.
- Apply multiple coats: Depending on the desired level of color intensity, you may need to apply multiple coats of stain. Allow each coat to dry completely before applying the next one.
- Experiment with different techniques: If you are not satisfied with the initial staining results, you can try different techniques such as layering stains or using a wash technique to achieve the desired effect.
- Seal the surface: Once the stain has dried, consider applying a protective topcoat or sealer to enhance the durability and longevity of the finish.
3) Considerations for Staining Sawdust and Wood Glue
While staining sawdust and wood glue is possible, it is important to keep in mind a few considerations:
- Uniformity of color: Due to the difference in absorption properties, the final color may vary between the sawdust and wood glue areas and the solid wood surface. This can create an interesting visual effect, but it may not be suitable for all projects.
- Limitations of deep tones: Achieving deep, rich tones with sawdust and wood glue may be challenging. The texture and structure of these materials can make it difficult for darker stains to penetrate deeply.
- Experimentation and practice: Staining sawdust and wood glue can be a trial-and-error process. It may take some experimentation and practice to achieve the desired results.
Additional Techniques for Stainable Results
Aside from using sawdust and wood glue, there are other techniques you can explore to achieve stainable results on your woodworking projects. Let’s take a look at a few of them:
Gel Stains vs. Liquid Stains
Gel stains and liquid stains are two main types of wood stains available in the market. Understanding their differences can help you choose the right option for your specific project:
1) Gel Stains
Gel stains have a thicker consistency compared to liquid stains, which makes them easier to control and apply. They are great for vertical surfaces and can provide a more even color since they do not drip or run. Gel stains are ideal for achieving a uniform finish on irregular or porous surfaces like sawdust and wood glue.
2) Liquid Stains
Liquid stains have a thinner consistency and are suitable for projects where the goal is to achieve a more transparent or natural wood look. They are commonly used on solid wood surfaces and can penetrate deeper into the wood fibers for a richer color. Liquid stains can be challenging to work with on porous or irregular surfaces like sawdust and wood glue.
Tips for Choosing the Right Stain
Choosing the right stain for your woodworking project is crucial in achieving the desired results. Here are a few tips to help you make the right choice:
- Consider the type of wood: Different types of wood absorb stain differently, so it is important to choose a stain that complements the natural characteristics of the wood species.
- Test on a sample board: Before applying the stain to your project, it is advisable to test it on a small sample board with the same type of wood. This will give you an idea of how the color will look on the final surface.
- Consider the desired finish: Stains are available in various finishes, including matte, satin, semi-gloss, and high-gloss. Consider the desired aesthetic of your project and choose a stain finish that complements it.
- Read reviews and seek recommendations: Research different stain brands and read customer reviews to get an idea of their quality, ease of application, and longevity.
Conclusion
While sawdust and wood glue can be stained, there are some considerations and techniques you need to keep in mind for successful results. Staining sawdust and wood glue requires a two-step process, involving prepping the surface with a paste made of sawdust and wood glue, and then applying the stain itself. It is important to choose the right type of stain, prep the surface properly, apply multiple coats if needed, and experiment with different techniques if desired. Remember that sawdust and wood glue may not absorb the stain as evenly as solid wood, and the final color may vary. Consider these factors and explore alternative techniques like gel stains or liquid stains to achieve the desired finish on your woodworking projects.
Key Takeaways: Is Sawdust and Wood Glue Stainable?
- Sawdust and wood glue can be mixed together to create a stainable filler for wood projects.
- This mixture is commonly used to repair cracks, holes, or imperfections in wood surfaces.
- When stained, the sawdust and wood glue mixture can blend with the surrounding wood, creating a seamless finish.
- It is important to use fine sawdust and high-quality wood glue for the best results.
- Before applying the mixture, make sure to sand and clean the area to ensure proper adhesion and a smooth surface.
Frequently Asked Questions
Are you wondering if sawdust and wood glue can be stained? Check out these common questions and answers related to making sawdust and wood glue stainable.
Q: What is the purpose of adding sawdust to wood glue?
Adding sawdust to wood glue serves two main purposes. First, it helps create a stronger bond between two pieces of wood. The sawdust acts as a filler, filling any gaps or imperfections in the wood. This results in a more secure and stable connection. Second, by adding sawdust to wood glue, you can create a wood filler that matches the color and texture of the wood. This becomes particularly useful when repairing or filling in gaps on stained or finished wood surfaces.
If you’re looking to make a repair or create a seamless bond, adding sawdust to wood glue can be a great solution. Just make sure to choose the right type of sawdust that matches the wood you’re working with for the best results.
Q: Can sawdust and wood glue be stained like wood?
Yes, sawdust and wood glue can be stained to match the color of the wood. To achieve this, you’ll need to follow a few steps. First, mix sawdust with wood glue in a container until you achieve a thick paste-like consistency. Apply this mixture to the area you want to stain, making sure to fill any gaps or imperfections. Allow it to dry completely.
Once dry, you can sand the area to blend it seamlessly with the surrounding wood. Then, choose a stain color that matches the wood, and apply it to the area with a brush or cloth. Make sure to follow the manufacturer’s instructions for the stain to ensure the best results. After applying the stain, let it dry according to the instructions. Finally, applying a clear coat or varnish will help protect the stained area and provide a finished look.
Q: Can I use any type of sawdust with wood glue?
While you can use various types of sawdust with wood glue, it’s best to use sawdust that matches the wood you’re working with. Using the same type of sawdust as the wood will create a better color match, resulting in a more natural-looking finish. If you’re working with oak wood, for example, using oak sawdust will help the repaired or filled-in area blend seamlessly with the rest of the wood.
If you don’t have access to the exact same type of sawdust, you can experiment with mixing different types to achieve a similar color match. However, keep in mind that the final result may not be as precise. It’s always a good idea to test a small area first to ensure the color is satisfactory before applying it to a larger surface.
Q: How long does it take for sawdust and wood glue to dry?
The drying time for sawdust and wood glue mixture can vary depending on factors such as humidity and the thickness of the applied mixture. In general, it’s recommended to allow at least 24 hours for the mixture to dry completely. However, it’s always a good idea to follow the instructions provided with the specific brand of wood glue you are using. These instructions often include a recommended drying time for optimal results.
Keep in mind that larger or thicker applications of the sawdust and wood glue mixture may require more drying time. It’s important to ensure that the mixture is completely dry before proceeding with sanding, staining, or any other finishing steps to avoid compromising the final result.
Q: Can I sand the area after applying sawdust and wood glue?
Yes, sanding is an important step after applying sawdust and wood glue mixture. Once the mixture has dried, use sandpaper or a sanding block to gently sand the area until it’s smooth and level with the surrounding wood surface. Sanding helps blend the repaired or filled-in area with the rest of the wood, ensuring a seamless finish once stained or finished.
When sanding, be careful not to remove too much of the surrounding wood or damage the edges of the repaired area. Start with a fine-grit sandpaper and gradually work your way to a finer grit for a smoother finish. After sanding, remove any dust or debris from the surface before proceeding with staining or finishing.
The Objective was to summarize “is sawdust and wood glue stainable?” article.
Summary
Sawdust and wood glue can be made into a stainable material for woodworking projects.
By mixing sawdust with wood glue, you can create a paste that can be used to fill gaps and holes in wood surfaces.
This mixture can be sanded and stained, allowing it to blend in with the rest of the wood.
However, it’s important to note that the color of the stain may not match exactly.
So, if you’re working on a project that requires a perfect color match, it’s best to use wood filler instead.