
Are you curious about all the amazing things you can do with a hand plane? Well, you’ve come to the right place! In this article, we’ll explore the wonderful world of hand planes and discover how they can transform your woodworking projects. Whether you’re a beginner or a seasoned pro, there’s something here for everyone!
Hand planes are like magic wands in the hands of skilled craftsmen and craftswomen. They have the power to shape and smooth wood, creating beautiful, precise surfaces that are a joy to touch and admire. With a hand plane, you can level uneven boards, chamfer edges, create intricate moldings, and even carve intricate designs. The possibilities are endless!
So, if you’re ready to unleash your creativity and take your woodworking skills to the next level, join us as we delve into the world of hand planes. Get ready to be amazed by the versatility and power of these incredible tools. Let’s dive in and discover the many things you can do with a hand plane!
Unlocking the Potential of a Hand Plane: 7 Ways to Use this Versatile Tool
Hand planes are timeless tools that have been used by woodworkers for centuries. Their versatility and precision make them an essential tool in any woodworking arsenal. In this article, we will explore seven different ways to use a hand plane, highlighting the benefits, tips, and techniques for each application. Whether you’re a seasoned craftsman or a woodworking enthusiast, these ideas will inspire you to maximize the potential of your hand plane.
Benefits of Using a Hand Plane
Before delving into the various uses of a hand plane, it’s important to understand the advantages this tool offers. Firstly, hand planes allow for precise and controlled material removal, aiding in shaping, smoothing, and leveling surfaces. Unlike power tools, hand planes provide a tactile connection between the craftsman and the wood, allowing for greater finesse and customization. Additionally, the simplicity of a hand plane makes it portable, requiring minimal setup and maintenance. Now, let’s explore the different tasks you can accomplish with this versatile tool.
1. Surface Smoothing and Finish Preparation
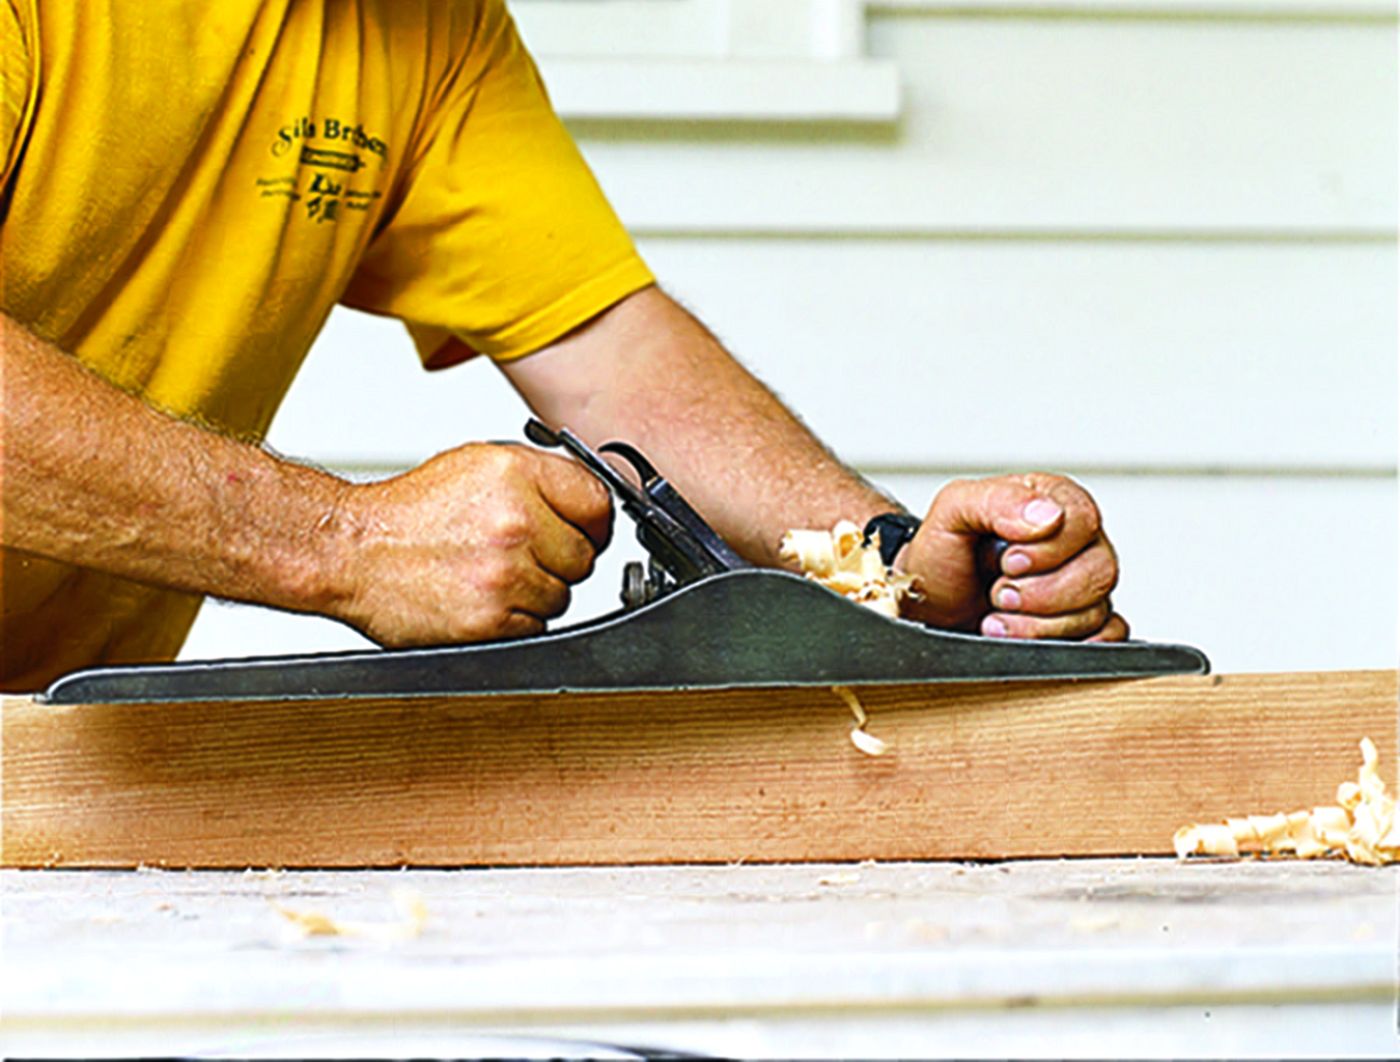
One of the primary uses of a hand plane is surface smoothing and finish preparation. A well-tuned hand plane can effortlessly remove rough patches, tear-out, and imperfections from wooden surfaces, leaving them smooth and ready for a flawless finish. By using different types of hand planes and adjusting the depth of the cut, you can achieve various levels of smoothness, from coarse to a glass-like finish.
To achieve optimal results, it’s essential to understand the techniques involved. Start by identifying any imperfections on the surface to be smoothed and use a hand plane with a sharp blade set for a shallow cut. Always work with the grain to avoid tear-out, and make sure to plane in long, continuous strokes for a uniform finish. Remember to maintain a steady and even pressure throughout the process to prevent uneven surfaces.
- Begin by identifying imperfections and rough patches on the surface.
- Choose the appropriate hand plane and set the blade for a shallow cut.
- Work with the grain, using long and continuous strokes for a uniform finish.
- Maintain even pressure throughout the process to avoid uneven surfaces.
2. Squaring Edges and Thickness Planing
A hand plane is an indispensable tool for squaring edges and thickness planing, two crucial tasks in woodworking projects. By using a hand plane, you can accurately straighten the edges of boards or panels, ensuring they are perfectly square. Additionally, hand planes excel at thickness planing, allowing you to remove excess material and achieve uniform thickness across a piece of wood.
When squaring edges, it’s essential to keep the hand plane’s sole flat against the reference surface and apply steady, even pressure. By making light passes with the hand plane, you can gradually bring the edge to its desired angle. For thickness planing, adjust the depth of cut to remove small amounts of material at a time. By alternating the direction of your passes, you can prevent the wood from warping and achieve an evenly planed surface.
- Ensure the hand plane’s sole is flat against the reference surface.
- Apply steady and even pressure while making light passes to square edges.
- Adjust the depth of cut for thickness planing, removing small amounts of material at a time.
- Alternate the direction of passes to prevent wood warping and achieve an even surface.
3. Chamfering and Beveling
Hand planes are incredibly versatile when it comes to creating precise chamfers and bevels on woodworking projects. A chamfer is a beveled edge that adds visual interest and aesthetic appeal to furniture, joinery, and decorative pieces. By adjusting the blade and guiding the hand plane along the edge at the desired angle, you can easily create consistent chamfers that enhance the overall design.
Similarly, a hand plane can be used to create bevels, which are angled surfaces commonly found in molding, cabinetry, and other woodworking applications. By manipulating the hand plane’s blade angle and controlling the depth of cut, you can achieve precise and clean bevels that add dimension and character to your workpiece.
Chamfering Tips:
- Position the hand plane’s blade at the desired angle for the chamfer.
- Guide the hand plane along the edge with steady and controlled movements.
- Continue planing until the desired depth of chamfer is achieved.
Beveling Tips:
- Adjust the angle of the hand plane’s blade to match the desired bevel angle.
- Control the depth of cut to achieve the desired size of the bevel.
- Work in a consistent and smooth motion to create clean and precise bevels.
4. Jointing and Truing
A hand plane is an indispensable tool for jointing and truing, which involves creating flat, straight, and square edges on boards or panels. Whether you’re working with rough lumber or need to re-establish accurate edges, a hand plane is a reliable choice. By carefully adjusting the depth of cut, you can remove small amounts of material until the desired edge is achieved.
When jointing with a hand plane, it’s crucial to maintain a flat reference surface and ensure even pressure along the length of the board. This process allows for precise alignment and helps create seamless joins for various woodworking projects. For truing, focus on planing one face at a time, using the reference edge or surface as a guide. Continue alternating between the faces until flatness and squareness are achieved.
Jointing Tips:
- Ensure a flat reference surface and apply even pressure along the length of the board.
- Make consistent passes, gradually adjusting the depth of cut until the desired edge is achieved.
Truing Tips:
- Plane one face at a time, using the reference edge or surface as a guide for flatness and squareness.
- Alternate between the faces, continuously checking for flatness until the desired results are achieved.
5. Shaping and Curved Surfaces
While hand planes are often associated with flat surfaces, they are also valuable tools for shaping and smoothing curved surfaces. When working on curved woodworking projects such as chair legs, table tops, or decorative carvings, a hand plane provides the control necessary to achieve precise contours and smooth finishes.
For shaping curved surfaces, it’s important to use a hand plane with a curved sole or a specialized shaping plane that complements the desired curve. By adjusting the blade depth and using controlled strokes, you can remove material gradually and create smooth, flowing shapes. Remember to follow the natural curve of the workpiece and make light passes to prevent any unintended damage or tear-out.
Shaping Tips:
- Choose a hand plane with a curved sole or a shaping plane for the specific curve.
- Adjust the blade depth based on the amount of material to be removed.
- Follow the natural curve of the workpiece and make light passes for smooth shaping.
6. Specialty Techniques: Planing End Grain and Knife Work
Hand planes are incredibly versatile and can be employed in various specialty techniques as well. Two such techniques are planing end grain and using a hand plane for knife work. When it comes to planing end grain, a hand plane provides the precision required to achieve clean and smooth results. The key is to approach the end grain at a shallow angle and make light, controlled passes to avoid tear-out.
Knife work, on the other hand, involves using a hand plane with its blade extended beyond the sole to create precise cuts and decorative details. This technique is often used for decorative moldings, engraved designs, or intricate inlays. By carefully maneuvering the hand plane and controlling the depth of the blade, you can achieve intricate and artistically appealing results.
Planing End Grain Tips:
- Approach the end grain at a shallow angle to prevent tear-out.
- Make light and controlled passes to achieve clean and smooth results.
Knife Work Tips:
- Extend the blade beyond the sole of the hand plane for precise cuts and decorative details.
- Control the depth of the blade and maneuver the hand plane with care for accurate and intricate results.
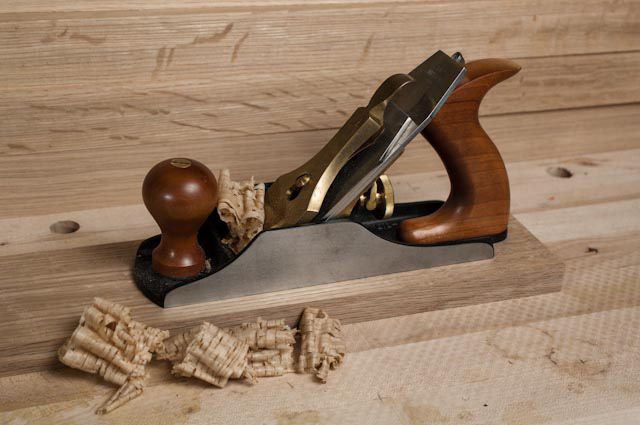
7. Maintaining and Tuning Your Hand Plane
Finally, it’s crucial to understand the importance of maintenance and tuning when it comes to hand planes. Regularly sharpening the blade, flattening the sole, and ensuring the proper alignment of the components are essential for optimal performance. By keeping your hand plane in top shape, you’ll be able to achieve finer results and prolong its lifespan.
When sharpening the blade, use a sharpening stone or honing guide to achieve a razor-sharp edge. Regularly check and adjust the sole for flatness, as any deviation can affect the accuracy of the plane. Additionally, ensure the blade and chip breaker are properly aligned to prevent chatter and achieve better control.
Maintenance Tips:
- Regularly sharpen the blade using a sharpening stone or honing guide.
- Check and adjust the sole for flatness to maintain optimal performance.
- Align the blade and chip breaker properly to prevent chatter and enhance control.
Custom Jigs and Creative Techniques: Taking Your Hand Plane Skills to the Next Level
Now that we’ve explored the range of tasks you can accomplish with a hand plane, it’s time to take your skills to the next level. Custom jigs and creative techniques can enhance your woodworking experience and open up even more possibilities with this versatile tool. Here are three additional ways you can elevate your hand plane skills:
1. Shooting Board for Perfect Mitered and Square Ends
A shooting board is a custom-made jig that helps achieve perfectly mitered and square ends on boards and moldings. By utilizing a hand plane along with the shooting board, you can create precise and seamless joints. The shooting board provides a secure rest for the workpiece while the hand plane trims the end grain to achieve a flush and accurate cut.
Building a shooting board requires basic woodworking skills and a few materials. Once you have constructed the shooting board, it becomes an invaluable tool for numerous applications, such as creating clean and tight miter joints or squaring the ends of boards and panels. This enables greater accuracy and ensures professional-looking results.
2. Grain Reversing Technique for Tear-Out Free Surfaces
Tear-out can be a common challenge when working with certain wood species or highly figured grain patterns. However, there’s a simple technique that can help you achieve tear-out free surfaces: grain reversing. By planing in the opposite direction to the natural grain, you can minimize or eliminate tear-out and achieve a smooth surface.
To reverse the grain, identify the direction of the grain and make light passes with the hand plane in the opposite direction. By taking shallow cuts and gradually removing the material, you can avoid tear-out and achieve a clean and tear-free surface. Keep in mind that this technique requires practice and an understanding of the wood’s grain patterns, so experimentation is key.
3. Custom Profile and Molding Creation
Another way to maximize the potential of your hand plane is by using it to create custom profiles and moldings. With the right technique and a bit of creativity, you can transform a piece of wood into a unique and personalized work of art. By combining different hand planes, adjusting the blade depth, and utilizing various shaping techniques, you can carve intricate details and textures into your workpieces.
When creating custom profiles and moldings, it’s important to plan the design beforehand and make careful and deliberate cuts. Take your time to understand how the hand plane interacts with the wood and how each stroke impacts the final result. With practice, you’ll be able to develop your own signature styles and create stunning decorative elements.
In conclusion, a hand plane is a versatile tool that offers numerous possibilities for woodworking projects. From surface smoothing and finish preparation to jointing, shaping, and customization, the applications are vast. By understanding the different uses and techniques, maintaining the tool, and exploring custom jigs and creative methods, you can unlock the full potential of your hand plane and elevate your woodworking skills to new heights. Embrace the timeless tradition of hand tool woodworking and let the hand plane be your guide to exceptional craftsmanship.
Key Takeaways: Things You Can Do with a Hand Plane
- A hand plane can be used to smooth rough surfaces on wood.
- It can be used to shave off thin layers of wood for precise fitting.
- A hand plane can help shape and round edges on wood pieces.
- It is great for leveling and flattening wooden boards.
- You can use a hand plane to create unique decorative finishes on wood.
Frequently Asked Questions
Looking to explore the world of hand planes? Here are some commonly asked questions about the different things you can do with a hand plane!
1. How can I use a hand plane to smooth rough lumber?
To smooth rough lumber using a hand plane, start by securing the board to a sturdy work surface. Adjust the depth of the plane’s blade to remove thin shavings. Begin planing along the grain, taking care to apply even pressure and maintain a consistent angle. Continue planing until the surface is smooth and even. Remember to check for any high spots and work on those areas further, if needed. A properly sharpened and properly adjusted hand plane can help you achieve a beautiful, smooth finish on your lumber.
Smoothing rough lumber can improve the overall appearance and feel of your woodworking projects. It helps to remove imperfections, such as splinters or uneven surfaces, resulting in a polished and professional look. Additionally, smooth lumber is easier to work with for joinery and assembly, making the overall woodworking process more enjoyable and efficient.
2. What are some techniques for using a hand plane to create decorative edges?
One technique for creating decorative edges with a hand plane is the chamfer. To create a chamfered edge, hold the hand plane at a slight angle and run it along the edge of the board, taking off a small strip. Repeat this process on all edges of the board for a consistent chamfered edge. Another technique is the roundover, which involves using the hand plane to slightly round the sharp corners of a board. This can be done by making controlled and smooth passes with the hand plane along the edges.
Creating decorative edges with a hand plane can add an artistic touch to your woodworking projects. It can give your pieces a unique look and enhance their overall aesthetic appeal. Whether you’re working on furniture, trim, or other decorative pieces, using a hand plane for decorative edges can elevate the craftsmanship and make your projects stand out.
3. Can a hand plane be used for making precision joinery?
Absolutely! Hand planes can be incredibly useful for making precision joinery. They allow you to finely tune the fit of joints by removing thin shavings, providing a level of control that is hard to achieve with power tools alone. They can be used to flatten and square up surfaces, smooth tenons, and adjust the fit of mortise and tenon joints. With proper technique and practice, hand planes can be a valuable tool in creating precise and well-fitting joinery.
Using a hand plane for precision joinery allows for a more hands-on approach to woodworking. It gives you the ability to make small adjustments as you work, ensuring a tight and accurate fit. Whether you’re working on dovetails, half-lap joints, or any other type of joinery, a hand plane can help you achieve the precision and quality that you desire in your woodworking projects.
4. How can I use a hand plane to flatten and level a wooden surface?
To flatten and level a wooden surface using a hand plane, start by marking any high spots on the surface with a pencil or marking knife. Adjust the depth of the hand plane’s blade to remove thin shavings. Begin planing across the grain of the wood, focusing on the high spots. Once the high spots are leveled, switch to planing along the grain to achieve a smooth surface. Repeat the process, checking the surface with a straightedge or winding sticks to ensure it is flat and level.
Flattening and leveling a wooden surface with a hand plane is an essential skill in woodworking. It allows you to work with accurately sized and flat pieces of wood, ensuring that your joinery and assemblies fit together properly. It also improves the overall aesthetics of your projects, providing a clean and professional appearance.
5. What safety precautions should I take when using a hand plane?
When using a hand plane, it’s important to take proper safety precautions. First and foremost, always wear safety goggles to protect your eyes from flying chips or debris. Keep your hands firmly on the handles and away from the blade to prevent accidental cuts. Ensure that the blade is sharp and properly secured in the plane. Work on a stable and secure work surface, and avoid any distractions that may lead to accidents. Lastly, always be mindful of the direction of the blade’s cutting edge to prevent tear-out or damage to the wood.
By following these safety precautions, you can enjoy the process of using a hand plane while keeping yourself protected. Remember, safety should always be a top priority in any woodworking endeavor.
Clever things you can do with an ELECTRIC hand planer
Summary
A hand plane is a versatile tool that can be used for many different tasks. It can smooth rough surfaces, shave off thin layers of wood, and shape edges.
By using a hand plane, you can create flat and even surfaces, allowing for a professional finish. It can be used in woodworking projects, like building furniture or making wooden toys.
Additionally, a hand plane can also be used for home improvement tasks, such as repairing doors or fitting windows. It’s a handy tool that can make your DIY projects much easier and more precise. So, next time you come across a hand plane, don’t underestimate its power and potential!