Welcome to the world of power tools! If you’ve ever wondered “what are the settings on a Dewalt drill?”, you’re in the right place. Dewalt drills are known for their versatility and user-friendly features, and understanding the different settings can help you tackle various projects with ease.
Now, you might be thinking, why are these settings so important? Well, my friend, these settings determine the speed, torque, and drilling capabilities of your Dewalt drill. By mastering them, you can adjust the tool to suit different materials and achieve the best results.
So, whether you’re a DIY enthusiast or a budding professional, let’s dive into the world of Dewalt drill settings and discover how they can take your drilling game to the next level. Get ready to unlock the full potential of your trusty Dewalt tool!
If you’re wondering about the settings on a Dewalt drill, you’re in the right place! Dewalt drills typically have a range of settings that allow you to customize the tool’s performance for different tasks. Some common settings you may find on a Dewalt drill include speed control, torque control, and drilling mode selection. These settings give you the flexibility to adjust the tool’s power and performance to suit your specific needs. Explore the various settings on your Dewalt drill to optimize your drilling experience!

Understanding the Settings on a Dewalt Drill: A Comprehensive Guide
Dewalt drills are renowned for their versatility and ability to tackle a wide range of tasks. To maximize their efficiency and performance, it is important to have a solid understanding of the various settings and features that these drills offer. In this article, we will delve into the different settings on a Dewalt drill, exploring their functions, benefits, and tips for optimal usage.
1. Speed Settings
At the heart of every Dewalt drill is the ability to adjust the speed according to the task at hand. Most Dewalt drills come equipped with a variable speed trigger, allowing the user to control the rotational speed of the drill bit. This feature is especially useful when working on delicate materials or when precise control is required.
The speed settings typically range from low to high, with lower speeds providing higher torque and higher speeds offering faster drilling or driving. For example, when working with metals, a lower speed is advised to prevent overheating and ensure accurate drilling. Conversely, higher speeds are more suitable for tasks involving wood or plastic.
Benefits:
– Versatility: Adjustable speeds allow for customization based on the material and type of task.
– Precision: Lower speeds enable controlled drilling, especially in delicate materials.
– Efficiency: High speeds provide quick and efficient drilling or driving, saving time and effort.
2. Torque Settings
Torque settings determine the drill’s rotational force or twisting power, and they play a crucial role in preventing damage to the materials being drilled or driven. Dewalt drills typically offer multiple torque settings, giving users the ability to match the power output to the specific requirements of the task.
Higher torque settings are ideal for heavy-duty applications, such as drilling large holes or driving screws into dense materials, while lower torque settings are suitable for tasks that require finesse and precision. By adjusting the torque settings, users can avoid over-tightening screws or damaging delicate materials.
Benefits:
– Protection: Adjusting the torque settings helps prevent damage to materials and fasteners.
– Flexibility: Different torque settings cater to various tasks and material types.
– Efficiency: Optimal torque settings ensure optimal drilling or driving performance.
3. Forward and Reverse Modes
Another essential feature of Dewalt drills is the ability to switch between forward and reverse modes. The forward mode is used for drilling holes or driving screws in a clockwise motion, while the reverse mode allows for counterclockwise rotation, making it easy to remove screws, bolts, or other fasteners.
The forward and reverse modes are usually controlled by a dedicated switch located near the trigger. This feature eliminates the need to manually loosen or tighten screws by hand, saving time and effort. Additionally, it prevents damage to the drill and fasteners by ensuring controlled rotation in both directions.
Benefits:
– Convenience: Switching between forward and reverse modes eliminates manual effort.
– Time-saving: Reverse mode allows for easy removal of screws or bolts.
– Protection: Controlled rotation prevents damage to the drill and fasteners.
4. Clutch Settings
The clutch settings on a Dewalt drill provide additional control and protection, especially when driving screws. The clutch acts as a torque limiter, disengaging the drill’s motor once the desired torque level is reached. This prevents over-tightening and stripping of screws or damaging the material being worked on.
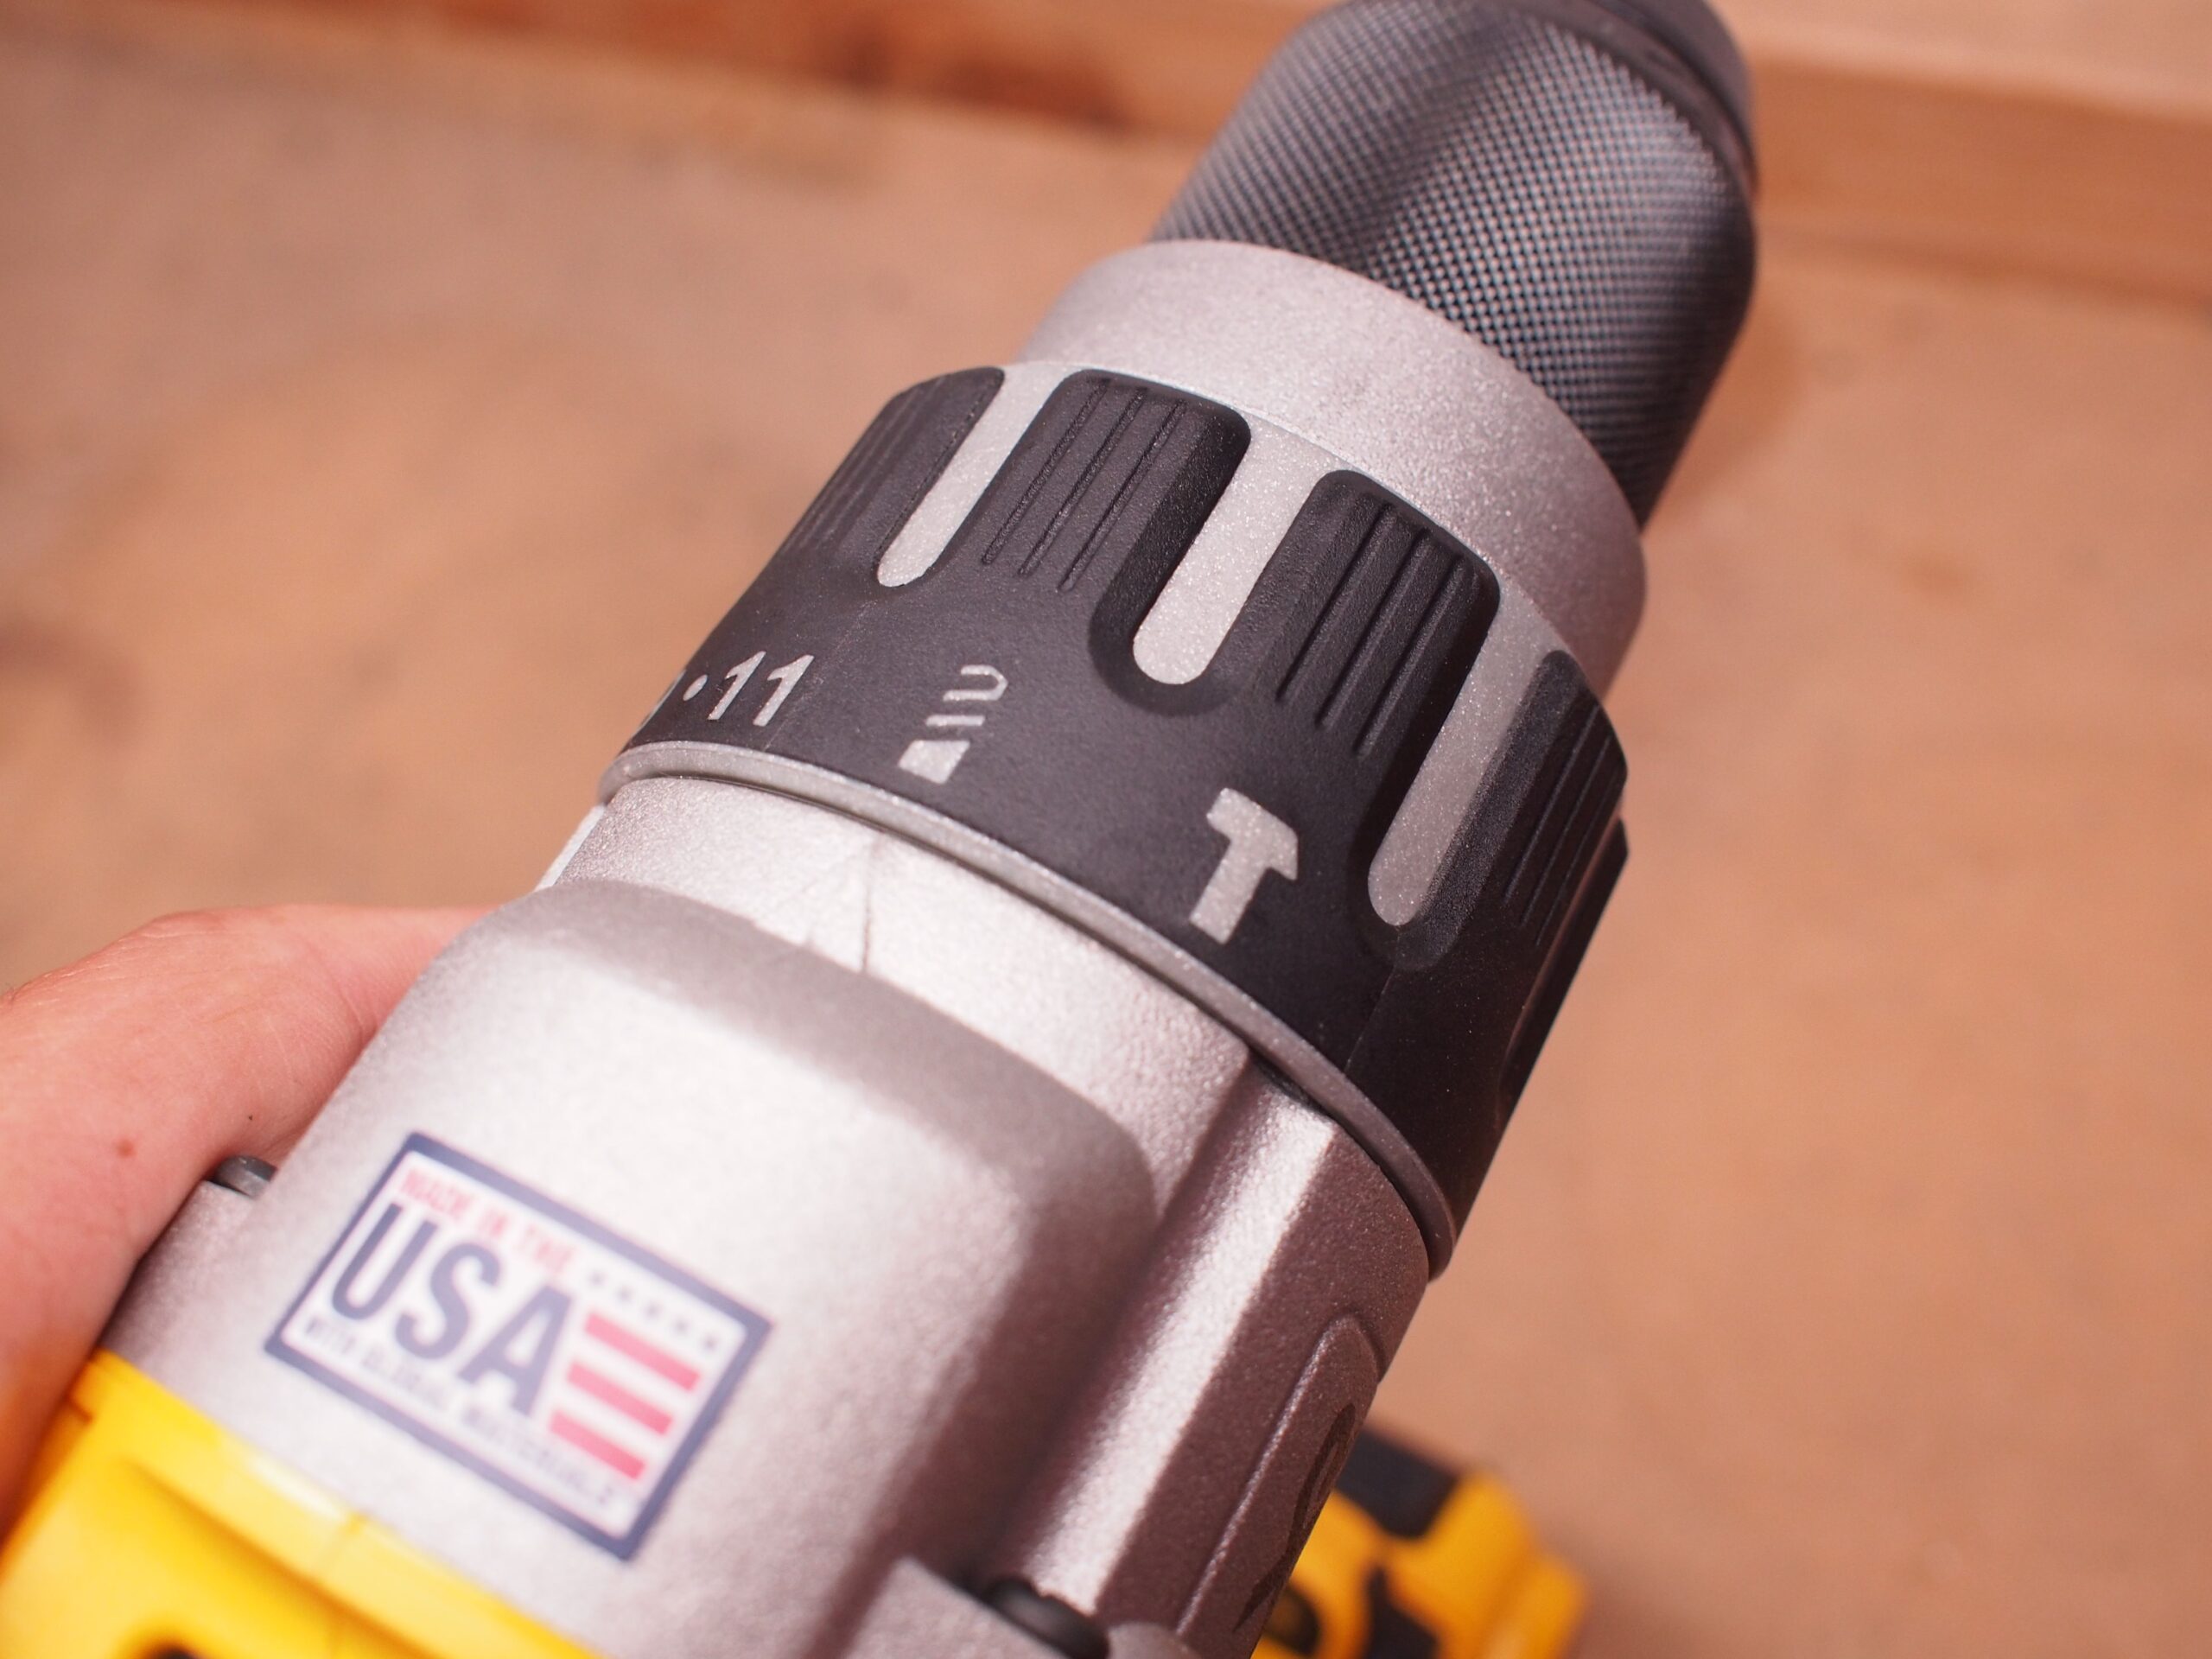
Dewalt drills typically offer adjustable clutch settings, with higher numbers indicating a higher torque setting. For light-duty applications, such as driving screws into soft materials, a lower clutch setting is recommended. Conversely, higher clutch settings are suitable for heavy-duty tasks or when driving screws into hard materials.
Benefits:
– Precision: The clutch prevents over-tightening and damage to screws and materials.
– Adaptability: Adjustable clutch settings cater to a wide range of tasks and material types.
– Longevity: Proper clutch settings increase the lifespan of screws and prevent wear and tear.
5. Hammer Drill Mode
Many Dewalt drills come equipped with a hammer drill mode, which adds a pulsating action to the usual rotational motion. This mode is particularly useful when drilling into masonry, concrete, or other tough materials. The hammer drill mode combines rotary force with rapid hammering, allowing for efficient penetration without excessive strain.
When working with the hammer drill mode, it is important to use the appropriate drill bits specially designed for hammer drilling. These bits are designed to withstand the intense forces exerted by the hammer drill mode and ensure optimal drilling performance.
Benefits:
– Efficient Drilling: Hammer drill mode allows for effective drilling in tough materials.
– Time-saving: The combination of rotary force and hammering action speeds up the drilling process.
– Versatility: Hammer drill mode expands the range of materials that can be drilled with a Dewalt drill.
6. Chiseling Mode
Some Dewalt drills also offer a chiseling mode, which allows them to be used as mini jackhammers for light chiseling or demolition work. The chiseling mode combines the hammering action with a fixed chisel attachment, enabling the user to break through concrete, tile, or other similar materials.
When using the chiseling mode, it is crucial to wear appropriate safety gear, including eye protection and gloves, as the chisel attachment creates vibrations and debris. It is also essential to handle the drill with care and follow proper safety guidelines to avoid accidents or injuries.
Benefits:
– Versatility: The chiseling mode extends the functionality of a Dewalt drill for light demolition work.
– Cost-effective: Eliminates the need for a separate jackhammer for small-scale chiseling tasks.
– Efficiency: Chiseling mode allows for quick and precise removal of materials.
7. Battery Type and Settings
Dewalt drills are often powered by rechargeable batteries, and the type of battery used can significantly impact the drill’s performance. Three common battery types used in Dewalt drills are Nickel Cadmium (NiCad), Nickel Metal Hydride (NiMH), and Lithium-Ion (Li-Ion).
NiCad batteries are the most affordable option but have a shorter lifespan and memory effect. NiMH batteries offer improved performance and do not suffer from the memory effect but are still prone to self-discharge. Li-Ion batteries provide the best performance, longer lifespan, and no memory effect, making them the preferred choice for professional use.
When using a Dewalt drill, it is important to consider the battery’s charge level and adjust the settings accordingly. Higher torque or speed settings can drain the battery faster, so it is advisable to use appropriate settings for optimal battery life.
Benefits:
– Performance: The battery type impacts the drill’s power, runtime, and overall performance.
– Lifespan: Choosing the right battery type ensures longer-lasting performance.
– Efficiency: Adjusting settings based on the battery’s charge level optimizes overall usage.
Proper Maintenance and Care Tips
Maintaining and caring for your Dewalt drill is essential to ensure longevity and reliable performance. Here are a few tips to keep in mind:
Regular Cleaning and Inspection
To prevent dust, debris, or grime buildup, clean the drill after each use. Use a soft cloth or brush to remove dirt from the exterior and a small brush to clean dust from the vents and chuck. Regularly inspect the drill for any loose screws or parts and tighten them if necessary.
Battery Care
Keep your drill’s battery in a cool, dry place when not in use. Avoid overcharging or completely depleting the battery to extend its lifespan. If the drill will not be used for an extended period, store the battery at around 40% charge to prevent deterioration.
Chuck Maintenance
Clean the chuck regularly to remove any debris that may affect its grip. Lubricate the chuck periodically to ensure smooth operation. Consult the user manual for specific instructions on disassembling and lubricating the chuck.
Safe Storage
Store your Dewalt drill in a clean and dry location, away from moisture or extreme temperatures. Keep it in a well-ventilated area to prevent the accumulation of fumes or gases that may damage the drill.
Conclusion
Understanding the various settings on a Dewalt drill is crucial for achieving optimal performance and extending the lifespan of the tool. The speed settings, torque settings, forward and reverse modes, clutch settings, hammer drill mode, chiseling mode, and battery settings all play vital roles in ensuring efficient and precise drilling or driving. By familiarizing yourself with these settings and following proper maintenance and care practices, you can make the most out of your Dewalt drill and tackle a wide range of tasks with confidence.
Key Takeaways: What Are the Settings on a Dewalt Drill?
If you’re curious about the settings on a Dewalt drill, here are some important things to know:
- 1. Dewalt drills typically have multiple speed settings for different drilling tasks.
- 2. Many Dewalt drills have a clutch setting that allows you to adjust the torque for precise screwdriving.
- 3. Some models may offer a hammer drill setting for drilling into tough materials like concrete.
- 4. The drill’s direction switch allows you to choose between forward and reverse motion.
- 5. Dewalt drills often have a variable speed trigger, giving you control over the drilling speed.
Frequently Asked Questions
Welcome to our FAQ section where we answer questions related to the settings on a Dewalt drill. Whether you’re a homeowner or a professional, understanding the settings on your Dewalt drill is crucial for achieving optimal results. Here are some common queries users have:
1. What are the different speed settings on a Dewalt drill?
The speed settings on a Dewalt drill allow you to control the rotational speed of the chuck. Most Dewalt drills have a variable speed trigger, which means you can adjust the speed by how much you squeeze the trigger. For example, lightly pressing the trigger will result in a slower speed, while fully pressing it will provide maximum speed. This feature gives you the flexibility to match the speed of the drill to the requirements of the material you’re working with, ensuring better precision and avoiding damage.
Additionally, some Dewalt drills also offer adjustable speed settings through a physical switch or dial. These settings typically include a low, medium, and high-speed option, allowing you to choose a fixed speed for repetitive tasks or when a specific speed is required.
2. How do I switch between drill and driver settings on a Dewalt drill?
Many Dewalt drills come with a clutch collar, which is used to switch between drill and driver settings. The clutch collar is typically located just behind the chuck and can be rotated to adjust the drilling torque. To switch to the drill setting, rotate the collar to the highest torque level. This allows the drill to apply the maximum amount of force for drilling through materials. To switch to the driver setting, rotate the clutch collar to a lower torque level. This prevents the driver from over-tightening screws or damaging delicate materials.
It’s important to consult your Dewalt drill’s user manual to understand the specific markings or numbers on the clutch collar that correspond to the different settings. This will ensure you have precise control over the torque output and avoid any mishaps while using the drill.
3. Can I adjust the clutch settings on my Dewalt drill?
Yes, most Dewalt drills allow you to adjust the clutch settings to control the drilling or driving torque. The clutch settings are typically indicated by numbers or symbols on the clutch collar. The higher the number, the greater the torque applied by the drill, while lower numbers provide less torque. By adjusting the clutch setting, you can fine-tune the drill’s performance to match the requirements of your task and prevent accidental over-tightening of screws or damaging the material you’re working with.
It’s a good practice to start with a lower clutch setting when you’re unsure of the appropriate torque needed for a specific task. Then, gradually increase the clutch setting until you find the right balance between power and control. Experimenting with different settings will help you achieve the best results with your Dewalt drill.
4. What are the hammer drill settings on a Dewalt hammer drill?
A Dewalt hammer drill has a hammer mode, which generates a rapid back-and-forth motion to deliver a hammering action while drilling. This feature is particularly useful for drilling into masonry materials such as concrete or brick. To activate the hammer drill mode, locate the mode selector switch usually near the chuck. Turn the switch to the hammer icon or the mode specified for hammer drilling.
It’s important to note that the hammer drill mode should only be used with appropriate drill bits designed for such applications. Using the hammer drill mode with standard drill bits may result in damage to the bit, decreased drilling performance, or even injury. Always refer to the user manual for specific instructions on using the hammer drill mode.
5. How do I adjust the torque settings on a Dewalt impact driver?
Unlike traditional drills, Dewalt impact drivers do not have adjustable torque settings. These powerful tools deliver high levels of torque automatically. When using a Dewalt impact driver, it’s important to be aware of the force it generates to avoid over-tightening screws or damaging materials. To ensure precise control, it’s recommended to practice using the impact driver on scrap materials first. This will help you get a sense of how the tool performs and develop a feel for applying the appropriate amount of pressure.
Although you can’t adjust the torque on a Dewalt impact driver, using the appropriate screwdriver bit and avoiding excess force can help prevent damage and ensure successful results. It’s always a good idea to read the user manual and follow any guidelines provided by Dewalt for using their impact drivers safely and effectively.

Summary
So, what are the settings on a Dewalt drill? Well, there are a few key ones to know. First, there’s the clutch setting, which helps control the level of torque. Then, there’s the speed setting, which determines how fast the drill spins. Lastly, there’s the direction setting, which allows you to switch between forward and reverse. Understanding these settings will help you use your Dewalt drill effectively and get the job done right!
In addition to the settings, it’s important to know how to change drill bits and adjust the depth. To change the bit, simply loosen the chuck and swap it out. And when it comes to adjusting the depth, you can use the depth gauge or depth stop to ensure accurate drilling. With these tips in mind, you’ll be ready to tackle any project with your Dewalt drill. Happy drilling!