If you’re wondering what nail gun to use for cedar shingles, you’ve come to the right place! Nailing cedar shingles can be a tricky task, but with the right nail gun, it becomes much easier and more efficient. So let’s dive in and find the perfect tool for the job.
When it comes to cedar shingles, you need a nail gun that can handle the delicate nature of the material. Using the wrong nail gun can result in splitting or damage to the shingles. That’s why it’s important to choose a nail gun specifically designed for working with cedar shingles.
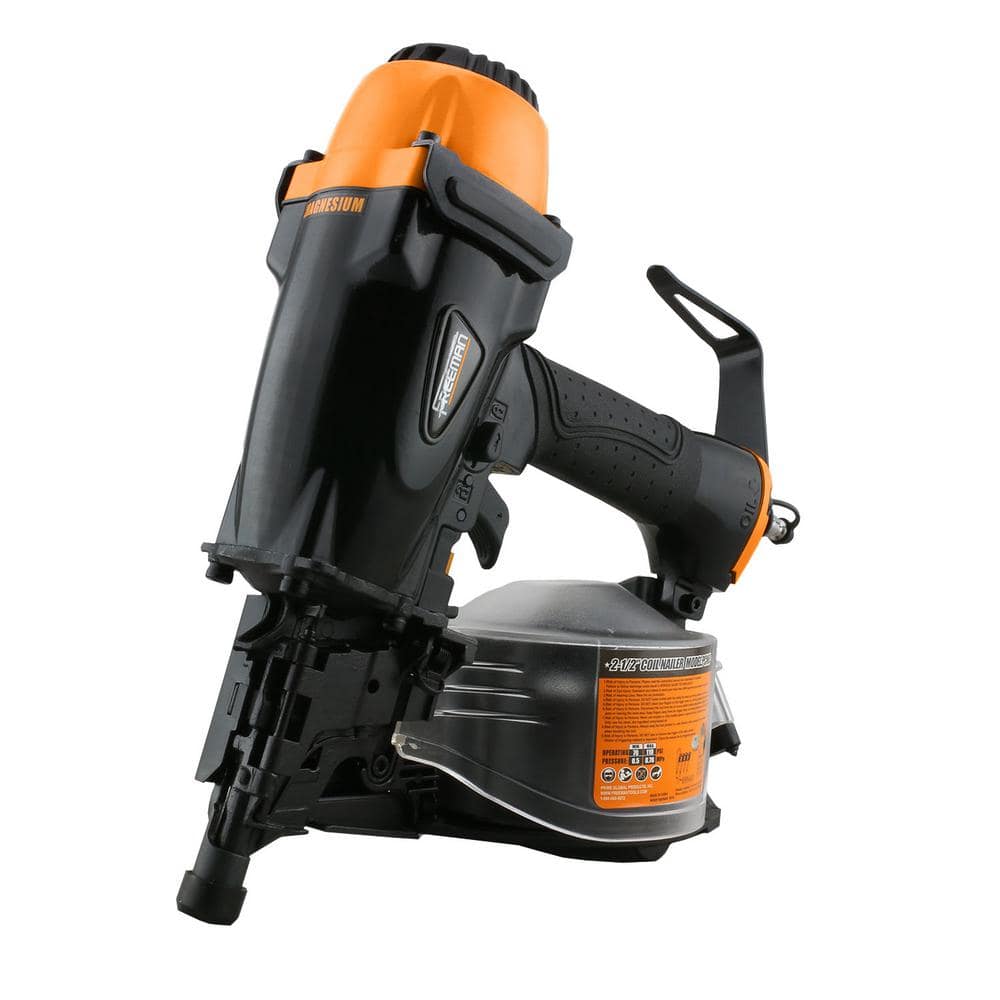
So, what kind of nail gun should you look for? The answer lies in pneumatic roofing nail guns. These nail guns are lightweight, easy to handle, and designed to drive nails into cedar shingles without causing any damage. They provide the precision and power needed for the job, ensuring a secure and professional installation.
Now that you know the importance of choosing the right nail gun for cedar shingles, let’s explore some top options. We’ll discuss their features, benefits, and help you make an informed decision. So stay tuned and get ready to find the perfect tool for your cedar shingle project!

What Nail Gun to Use for Cedar Shingles: A Comprehensive Guide
Cedar shingles are a popular choice for siding due to their durability, natural beauty, and resistance to decay. When it comes to installing cedar shingles, choosing the right nail gun is crucial to ensure a secure and long-lasting installation. In this guide, we will explore the different types of nail guns and provide recommendations on what nail gun to use for cedar shingles.
The Benefits of Using a Pneumatic Nail Gun
Using a pneumatic nail gun offers several advantages when installing cedar shingles. First and foremost, these nail guns provide consistent and high-powered fastening, ensuring that the nails penetrate the shingle and secure it to the underlying surface effectively. Pneumatic nail guns also allow for faster and more efficient installation, saving both time and effort. Additionally, they offer adjustable depth settings, allowing you to control the nail depth and prevent over-penetration, which could damage the shingles.
One of the key benefits of using a pneumatic nail gun for cedar shingles is the reduced risk of splitting or cracking the shingles. These nail guns are designed to deliver the ideal amount of force to drive the nails without causing damage to the delicate cedar. They are also lightweight and easy to handle, making them suitable for both professional contractors and DIY enthusiasts.
Not only are pneumatic nail guns reliable and efficient, but they also provide better holding power. The high-pressure air generated by the nail gun ensures that the nails are tightly secured, preventing the shingles from loosening or buckling over time. This is especially important for cedar shingles, as they are exposed to various weather conditions and need to withstand the test of time.
Choosing the Right Nail Gun for Cedar Shingles: Factors to Consider
When selecting a nail gun for cedar shingles, there are several factors to consider. These include the type of nail gun, the size and type of nails, and the nail spacing requirements for cedar shingles.
Type of Nail Gun
There are two main types of nail guns commonly used for installing cedar shingles: roofing nailers and siding nailers. Roofing nailers are specifically designed for roofing applications, including the installation of cedar shingles. They typically use coil nails and have a higher magazine capacity, allowing for quicker reloading. Siding nailers, on the other hand, are more versatile and can be used for a variety of siding materials, including cedar shingles. They often use strip nails and have a smaller magazine capacity. Both types of nail guns can be effective for cedar shingles, but siding nailers offer more flexibility for other siding projects as well.
Nail Size and Type
The size and type of nails you use will depend on the thickness of the cedar shingles and the specific requirements of your project. Stainless steel or galvanized nails are recommended for cedar shingles, as they offer excellent corrosion resistance. The length of the nails should be chosen based on the thickness of the shingles, ensuring that they penetrate the shingle and secure it to the substrate. It is important to follow the manufacturer’s recommendations and local building codes when selecting the nail size and type.
Nail Spacing Requirements
The spacing between nails is crucial to ensure the proper installation of cedar shingles. It is important to refer to the manufacturer’s instructions or local building codes for the recommended nail spacing. Typically, nails should be spaced approximately 1 1/2 to 2 inches apart along the shingle’s edge and 4 to 6 inches apart along the shingle’s width. Some nail guns come with adjustable depth and spacing settings, allowing you to customize the nail placement according to the requirements of your specific project.
Tips for Using a Nail Gun with Cedar Shingles
Here are some tips to keep in mind when using a nail gun for installing cedar shingles:
1. Practice on Scrap Material:
Before starting your installation, practice using the nail gun on a piece of scrap cedar shingle. This will help you get a feel for the tool and ensure that the nails are being driven correctly without causing any damage.
2. Adjust Nail Depth:
Make sure to adjust the depth setting on your nail gun to ensure that the nails are driven just below the surface of the shingle. This will help prevent the nails from protruding, which can affect the overall appearance and integrity of the installation.
3. Use the Right Air Pressure:
Check the recommended air pressure for your specific nail gun and adjust it accordingly. Using the correct air pressure will ensure that the nails are driven with the appropriate force, resulting in a secure installation.
4. Keep the Nail Gun Clean:
Regularly clean and maintain your nail gun to ensure optimal performance. Remove any debris or jammed nails from the magazine, lubricate moving parts as needed, and store the nail gun in a clean and dry environment.
5. Safety First:
Always wear appropriate safety gear, including eye protection, gloves, and hearing protection when using a nail gun. Follow the manufacturer’s instructions and guidelines for safe operation of the nail gun.
6. Check for Proper Alignment:
Regularly check the alignment of the nail gun to ensure that the nails are being driven straight and perpendicular to the shingles. This will help prevent any slippage or damage to the shingles during installation.
In Conclusion
Choosing the right nail gun for cedar shingles is essential for a secure and professional installation. Pneumatic nail guns offer numerous benefits, including consistent fastening, reduced risk of damage, and better holding power. Consider factors such as the type of nail gun, nail size and type, and nail spacing requirements when selecting the appropriate tool for your cedar shingle project. By following proper installation techniques and safety guidelines, you can achieve a beautiful and long-lasting cedar shingle siding that will enhance the aesthetics and value of your home.
Key Takeaways: What Nail Gun to Use for Cedar Shingles?
- A pneumatic nail gun with a coil siding attachment is recommended for installing cedar shingles.
- Make sure the nail gun has an adjustment for depth control to prevent overdriving the nails.
- Choose a nail gun that uses ring shank nails for improved holding power on cedar shingles.
- Consider the weight and balance of the nail gun for comfortable handling during extended periods of use.
- Always wear safety goggles and follow proper safety precautions when using a nail gun.
Frequently Asked Questions
Looking to install cedar shingles and wondering which nail gun to use? We’ve got you covered! Check out these frequently asked questions about the best nail gun for cedar shingles.
1. How do I choose the right nail gun for cedar shingles?
When choosing a nail gun for cedar shingles, there are a few factors to consider. First, make sure it has an appropriate nail length range that matches the thickness of your cedar shingles. Additionally, look for a nail gun that offers adjustable depth settings so you can control the nail penetration. It’s also important to select a nail gun that is compatible with the type of nails recommended for cedar shingles, such as stainless steel or galvanized nails. Finally, consider the weight and maneuverability of the nail gun, as you’ll want a tool that is comfortable to use during a prolonged installation process.
Remember, always consult the manufacturer’s guidelines and recommendations to ensure you choose a nail gun that is specifically designed for cedar shingles. This will help prevent any damage to the shingles and ensure a successful installation.
2. Can I use a regular framing nail gun for cedar shingles?
While it may be tempting to use a regular framing nail gun for cedar shingles, it is not recommended. Framing nail guns typically use larger, thicker nails that may cause splitting or damaging the cedar shingles. Additionally, framing nail guns may not have the necessary depth adjustment settings required for proper installation of shingles. To prevent any potential issues or damage to the cedar shingles, it’s best to invest in a nail gun specifically designed for cedar shingle installation.
Using the appropriate nail gun will ensure a secure and long-lasting installation, as well as help maintain the integrity of the cedar shingles over time.
3. What type of nails should I use with a nail gun for cedar shingles?
When using a nail gun for cedar shingles, it’s important to choose the right type of nails. Stainless steel nails are a popular choice for cedar shingles due to their corrosion resistance and durability. They withstand the elements and prevent unsightly rust stains on the shingles. Galvanized nails, which are coated in zinc, are also suitable for cedar shingles as they offer similar corrosion resistance.
Always refer to the manufacturer’s recommendations to determine the best nail type and size for your specific cedar shingles. Using the correct nails will help ensure a secure and long-lasting installation while preserving the beauty of the cedar shingles.
4. Can I rent a nail gun for cedar shingle installation?
Yes, renting a nail gun for cedar shingle installation is a common and cost-effective option. Many hardware stores and rental centers offer a variety of nail guns for rent, including those specifically designed for cedar shingle installation. Renting allows you to use a high-quality tool without the long-term commitment or expense of purchasing.
Before renting a nail gun, make sure to inquire about the model’s suitability for cedar shingles. Confirm that it has the necessary features, such as adjustable depth settings and compatibility with the recommended nail type and size for cedar shingles. Additionally, familiarize yourself with the rental terms and any safety precautions associated with operating the nail gun.
5. Are there any safety precautions to consider when using a nail gun for cedar shingles?
Yes, it’s important to prioritize safety when using a nail gun for cedar shingle installation. Always wear appropriate safety gear, including safety glasses and ear protection. Pay close attention to your surroundings and ensure you have a stable footing while operating the nail gun. Familiarize yourself with the nail gun’s safety features and follow the manufacturer’s guidelines for proper usage.
Additionally, take care to avoid accidentally firing nails into your hand or body. Keep your fingers away from the trigger when not in use and only pull the trigger when the nail gun is positioned correctly against the shingle. It’s also wise to practice on scrap pieces of cedar shingle before starting the actual installation to get comfortable with the tool.

Summary
So, when it comes to using a nail gun for cedar shingles, you need to consider a few things. Firstly, it’s best to use a pneumatic nail gun because it provides enough power to drive the nails into the dense cedar material. Make sure the nail gun has an adjustable depth setting to avoid damaging the shingles. Additionally, use nails that are resistant to rust and corrosion, like stainless steel nails. Finally, always follow the manufacturer’s guidelines and wear safety equipment to protect yourself.
In conclusion, using the right nail gun for cedar shingles involves choosing a pneumatic nail gun with an adjustable depth setting and rust-resistant nails. Don’t forget to prioritize safety by following guidelines and using protective equipment. Happy shingling!