
When using an orbital sander, you might find yourself wondering about the best techniques and safety precautions. Well, look no further! In this article, we’ll explore everything you need to know about using an orbital sander like a pro.
If you’re new to woodworking or DIY projects, an orbital sander can be a game-changer. Whether you’re sanding a tabletop, refinishing a piece of furniture, or smoothing out rough surfaces, this handy tool can save you time and effort. But before you dive in, it’s essential to understand how to use it properly to achieve the best results.
In this comprehensive guide, we’ll cover the basics of when, where, and how to use an orbital sander effectively. From choosing the right sandpaper grit to avoiding common mistakes, you’ll gain the knowledge and confidence to tackle your sanding projects like a pro. So, let’s get started and unlock the secrets of using an orbital sander with finesse!

When to Use an Orbital Sander: A Comprehensive Guide
Welcome to our comprehensive guide on when to use an orbital sander. Whether you’re a DIY enthusiast or a professional carpenter, understanding the right time to use an orbital sander can make a significant difference in achieving a smooth and polished finish on your woodworking projects. In this article, we’ll explore different scenarios and provide detailed information to help you determine when an orbital sander is the perfect tool for the job.
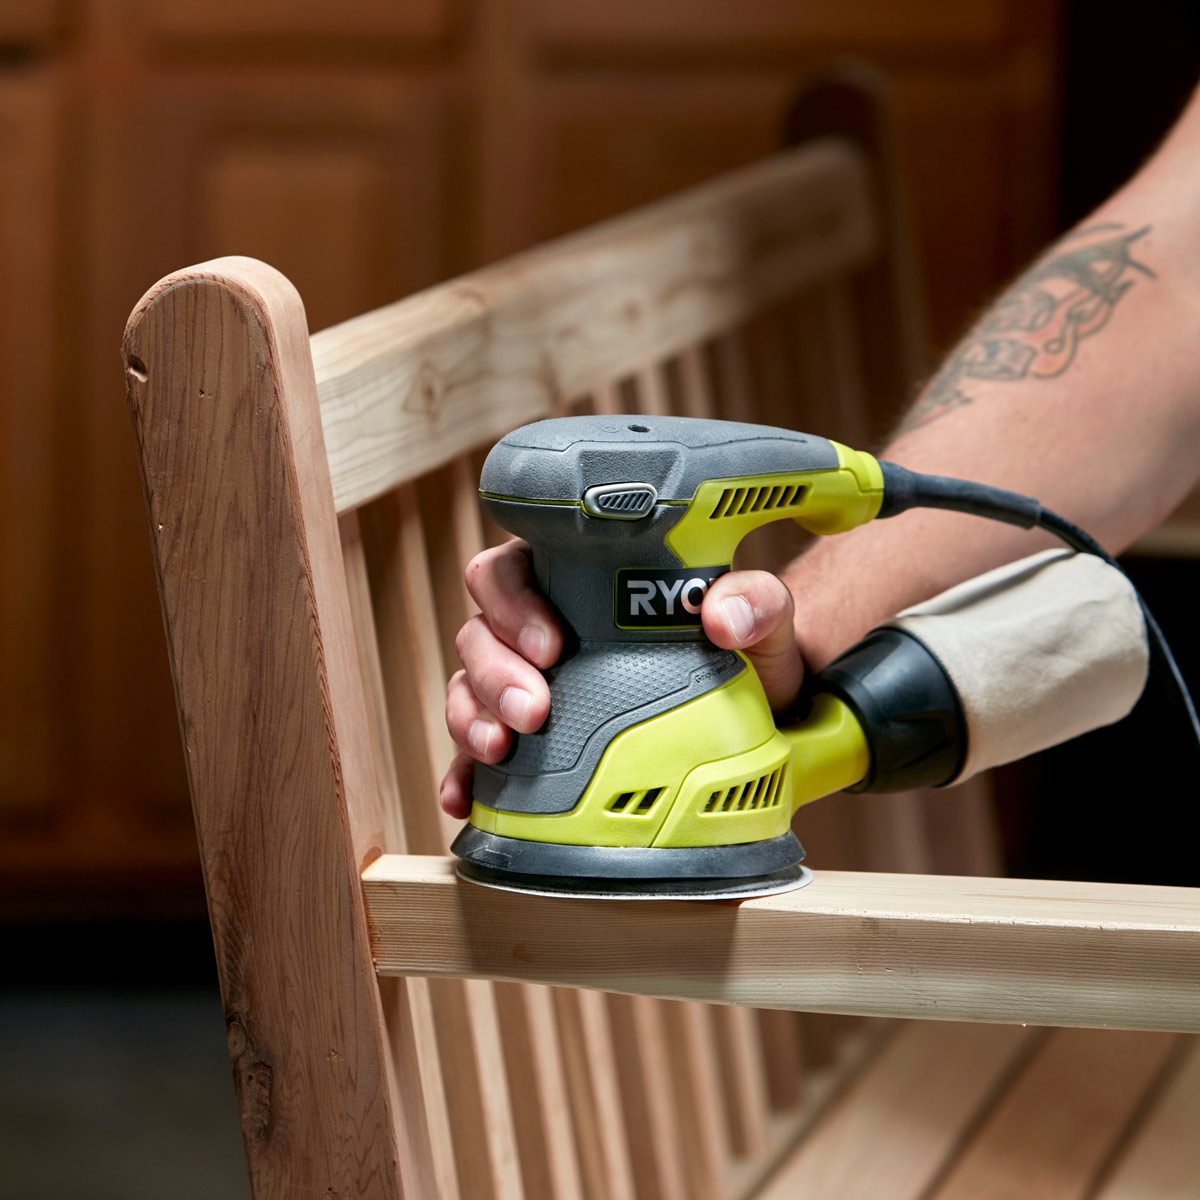
When Preparing Rough Surfaces for Finishing
One of the key occasions when an orbital sander is essential is when you need to prepare rough surfaces for finishing. Prior to applying a fresh coat of paint, stain, or varnish, it’s crucial to ensure that the surface is smooth and free from imperfections. An orbital sander is the perfect tool for this task as it removes excess material, such as old paint or uneven wood, and creates a clean and even surface.
When using an orbital sander to prepare rough surfaces, it’s important to select the appropriate grit sandpaper. Coarser grits, such as 80 or 120, are ideal for removing large imperfections and old finishes. Once the surface is relatively smooth, you can move on to finer grits (typically 180 to 220) to achieve a polished finish. Remember to move the sander in a back-and-forth or circular motion, working with the grain of the wood for the best results.
When Removing Old Paint or Varnish
If you’re looking to give a fresh look to an old piece of furniture or woodwork, an orbital sander is an excellent choice for removing old paint or varnish. Over time, paint and varnish can chip, crack, or become discolored, detracting from the overall appearance of the piece. By using an orbital sander, you can easily strip away these layers and reveal the natural beauty of the wood beneath.
When removing old paint or varnish, it’s important to take safety precautions. Wear protective goggles and a dust mask to avoid inhaling particles or getting debris in your eyes. Start with a coarse grit sandpaper to remove the majority of the old finish, then progress to finer grits for a smooth surface. Take care not to apply too much pressure, as it may cause the wood to splinter or become uneven. Remember to work in a well-ventilated area to minimize dust accumulation.
When Smoothing Edges and Curved Surfaces
An orbital sander is an essential tool for smoothing edges and curved surfaces. Unlike belt sanders, which are better suited for flat surfaces, orbital sanders utilize a unique elliptical motion that reduces the risk of leaving swirl marks on the wood. This makes them ideal for smoothing edges, rounded corners, and intricate designs.
When using an orbital sander on edges or curved surfaces, it’s important to select the appropriate sanding pad attachment. Soft, flexible pads are designed to conform to the curves and contours of the wood, ensuring a consistent and smooth finish. Take your time and let the sander do the work, applying even pressure and moving in gentle, controlled motions. Remember to change sandpaper frequently to prevent clogging and maintain optimal performance.
When Fine-Tuning Woodworking Projects
An orbital sander is a valuable tool for fine-tuning woodworking projects and achieving the desired level of smoothness. Whether you’re building a table, constructing cabinets, or creating intricate pieces of art, an orbital sander can help you refine the finish and enhance the overall quality of your work.
When fine-tuning woodworking projects with an orbital sander, it’s important to pay attention to detail and work in small sections. Start with a medium-grit sandpaper, such as 120 or 150, and gradually progress to finer grits for a polished finish. Take breaks to inspect your work and sand lightly to avoid removing too much material. Remember to sand with the grain of the wood to maintain a consistent appearance. Once you’re satisfied with the smoothness, you can proceed with applying stains, varnishes, or other protective finishes.
Maintaining Your Orbital Sander: Tips and Best Practices
Now that we’ve explored when to use an orbital sander and its various applications, let’s discuss some tips and best practices to ensure optimal performance and longevity of your tool:
- Always wear safety goggles and a dust mask when using an orbital sander to protect your eyes and respiratory system from dust and debris.
- Regularly clean the dust collection bag or connect a vacuum to minimize dust buildup and maintain efficient operation.
- Use the appropriate sandpaper grit for each task, starting with coarser grits for rough surfaces and progressing to finer grits for a polished finish.
- Apply even pressure and let the sander do the work, avoiding excessive force that could damage the wood or cause uneven sanding.
- Change sandpaper frequently to prevent clogging and maintain optimal sanding performance.
- Store your orbital sander in a clean and dry environment to prevent dust or moisture from damaging the internal components.
- Follow the manufacturer’s instructions for maintenance, such as lubricating moving parts or replacing worn-out components, to ensure the longevity of your orbital sander.
Conclusion
Using an orbital sander can significantly improve the quality and efficiency of your woodworking projects. Whether you’re preparing rough surfaces, removing old paint or varnish, smoothing edges and curved surfaces, or fine-tuning your work, an orbital sander is a versatile and indispensable tool. By following proper techniques and maintenance practices, you can achieve professional-looking results and enjoy the satisfaction of a job well done.
Key Takeaways: When Using an Orbital Sander
- Wear safety goggles to protect your eyes from flying debris.
- Hold the sander with both hands for better control and stability.
- Start sanding with a lower grit sandpaper and gradually switch to higher grits for a smoother finish.
- Move the sander in a back and forth or circular motion to avoid uneven sanding.
- Always sand in the direction of the grain to prevent damage to the wood surface.
Frequently Asked Questions
Are you unsure about when and how to use an orbital sander? Here are some common questions and answers that can help you achieve smooth and professional results with this tool!
1. What safety precautions should I take when using an orbital sander?
When using an orbital sander, it’s important to prioritize safety. Start by wearing safety goggles and a dust mask to protect your eyes and lungs from dust particles. Additionally, make sure you are working in a well-ventilated area to minimize dust exposure. Before starting, inspect the power cord for any damage and avoid using the sander if there are any issues. Finally, always grip the sander firmly with both hands and never touch the sanding pad while the machine is in motion.
By taking these safety precautions, you can minimize the risk of accidents and ensure a safe working environment while operating an orbital sander.
2. When should I use a coarse-grit sandpaper versus a fine-grit sandpaper?
The choice between coarse-grit and fine-grit sandpaper depends on the task at hand. If you need to remove a significant amount of material or smooth rough surfaces, start with a coarse-grit sandpaper (around 60-80 grit). This rougher sandpaper will tackle the job more efficiently. However, if you are looking to achieve a smoother finish or sand between coats of paint or varnish, switch to a finer-grit sandpaper (around 120-150 grit). This will help you achieve a polished final result without leaving deep scratches.
Keep in mind that it’s often best to start with a coarse-grit sandpaper and gradually work your way up to a finer-grit to achieve the desired outcome while using an orbital sander.
3. How can I prevent swirl marks when using an orbital sander?
Swirl marks can occur when using an orbital sander, but you can minimize their appearance with a few techniques. First, avoid pressing too hard on the sander as this can create deeper marks. Instead, allow the sander’s weight and the sandpaper’s grit to do the work. Additionally, always keep the sander moving in a continuous motion to prevent excessive heat buildup in one spot. Finally, be mindful of the sandpaper’s condition and replace it if it becomes worn or clogged, as this can contribute to swirl marks.
By following these precautions and techniques, you can greatly reduce the occurrence of swirl marks and achieve a smoother sanding finish with your orbital sander.
4. How do I choose the right speed setting on my orbital sander?
When using an orbital sander, the speed setting can impact the sanding process. Start by referring to the manufacturer’s instructions for specific recommendations. In general, lower speed settings are useful for delicate materials or when working on precise detailing. Higher speed settings, on the other hand, are better suited for tougher materials or when you need to remove material more quickly.
For most standard sanding tasks, setting the orbital sander to a medium speed should provide satisfactory results. Experiment with different speed settings on scrap pieces to determine the best balance between effectiveness and control for your specific project.
5. How do I sand contoured surfaces with an orbital sander?
Sanding contoured surfaces with an orbital sander requires a bit of technique. Start by choosing an appropriately-sized sanding pad that matches the contours of the surface you’re working on. Next, apply moderate pressure and move the sander in a circular motion to follow the contours. Keep in mind that sanding by hand may still be necessary for intricate or hard-to-reach areas.
It’s important to be patient and take your time when sanding contoured surfaces, ensuring that you maintain an even and consistent pressure to achieve smooth and uniform results.
Orbital Sander Basics | Beginner Tool
Summary
So, when you’re using an orbital sander, remember these important things. First, make sure to choose the right grit sandpaper for the job. Second, always start with a lower speed setting and gradually increase it as needed. Third, keep the sander moving to avoid creating uneven spots. Fourth, wear safety gear like goggles and a mask to protect yourself. And finally, take breaks to give your hands and the sander a rest. Happy sanding!
In conclusion, using an orbital sander is not difficult as long as you follow these key guidelines. Remember to use the right sandpaper, start slow, keep moving, wear safety gear, and take breaks. With these tips in mind, you’ll be able to achieve smooth sanding results and complete your projects with ease. So go ahead and give it a try!