Are you frustrated trying to figure out why your hand planer is leaving those pesky lines? Don’t worry, we’ve got you covered! In this article, we’ll dive into the reasons behind this common issue and provide you with some handy tips to fix it.
So, why is your hand planer leaving lines? Well, there could be a few reasons. It might be due to incorrect blade alignment, improper technique, dull blades, or even inconsistencies in the wood grain. But fear not, we’ll break down each possible cause and give you the know-how to troubleshoot and eliminate those lines.
Ready to say goodbye to those unwanted lines on your woodworking projects? Let’s roll up our sleeves and get to the bottom of why your hand planer is leaving those pesky marks and how you can fix it!

Why is My Hand Planer Leaving Lines? Troubleshooting and Solutions
If you have recently noticed lines or grooves left by your hand planer, you may be wondering what could be causing this issue and how to fix it. Hand planers are typically used for smoothing and shaping wood, but when they leave behind unwanted lines, it can be frustrating. In this article, we will explore the possible reasons why your hand planer is leaving lines and provide you with some troubleshooting tips and solutions to help you get back to achieving smooth and flawless results.
1. Dull Blades
One of the most common reasons why a hand planer leaves lines is dull blades. Over time, the blades on your planer can become worn out or misaligned, resulting in poor performance and leaving behind visible lines on the surface of the wood. If you notice that your planer is not cutting smoothly, it may be time to sharpen or replace the blades. Using a honing guide or taking them to a professional can help restore their sharpness, allowing for clean and even cuts.
Another factor to consider is whether you are applying sufficient downward pressure while planing. Inadequate pressure can cause the blades to skip or leave behind lines. Ensure that you are using enough force to maintain consistent contact between the blades and the wood as you glide the planer along the surface.
Troubleshooting Tips:
- Check the sharpness of your blades and sharpen or replace them if necessary.
- Ensure that you are applying enough downward pressure during planing.
- Double-check if your blades are properly aligned and adjusted for optimal performance.
2. Incorrect Depth of Cut
The depth of cut refers to how much material the planer removes with each pass. If the depth of cut is set too high, the planer will dig too deeply into the wood, creating noticeable grooves or lines. On the other hand, if the depth of cut is too shallow, the planer may not effectively smooth the surface, resulting in unevenness. It is essential to adjust the depth of cut according to the desired smoothness and the type of wood you are working with.
When adjusting the depth of cut, start with a conservative setting, taking off only a small amount of material at a time. Test the planer on a scrap piece of wood and gradually increase the depth until you achieve the desired result. Avoid making deep cuts in a single pass, especially if you are new to using a hand planer.
Troubleshooting Tips:
- Check and adjust the depth of cut to the appropriate level for your project and the type of wood being planed.
- Start with a shallow depth and gradually increase it to avoid removing too much material in one pass.
- Practice on a scrap piece of wood before working on your project to ensure the settings are correct.
3. Wood Grain and Tearout
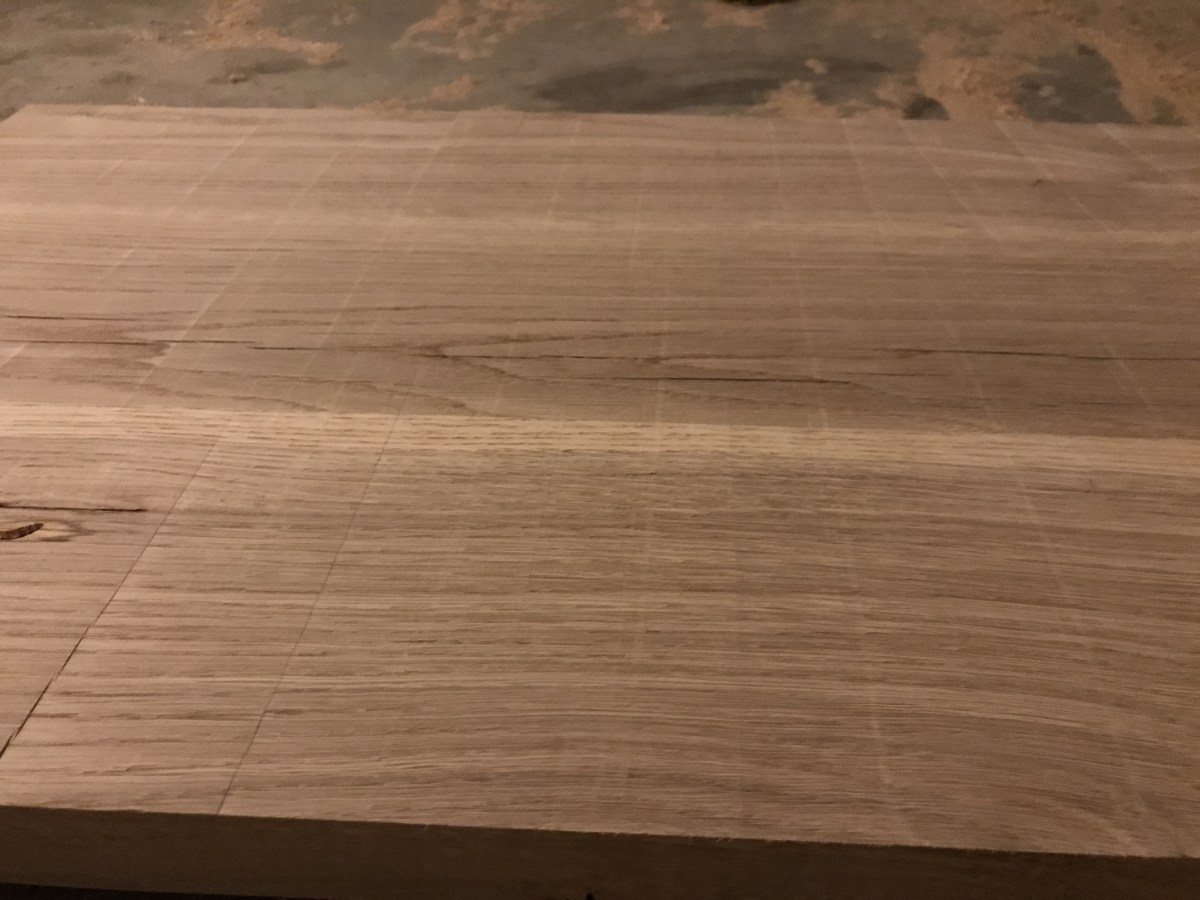
The direction of the wood grain can significantly impact the planing results. When planing against the grain, the hand planer can cause tearout, which results in torn or jagged wood fibers and visible lines. This is more common in certain types of wood with interlocking or irregular grain patterns.
To minimize tearout and achieve smoother results, it is crucial to identify the direction of the wood grain and adjust your planing technique accordingly. Planing in the same direction as the wood grain will yield better results and reduce the likelihood of leaving behind lines or tearout. Additionally, using a high-quality, sharp hand planer with a low angle blade can also help mitigate tearout issues.
Troubleshooting Tips:
- Identify the direction of the wood grain and adjust your planing technique accordingly.
- Consider using a low angle blade or a specialized hand plane designed to reduce tearout.
- If tearout persists, try planing from a different direction or using a different cutting technique, such as using a skew angle or taking lighter cuts.
4. Inconsistent Feed Rate
Another potential cause of lines left by a hand planer is an inconsistent feed rate. If you feed the planer too quickly or unevenly, it can result in uneven cuts and lines on the wood surface. It is important to maintain a consistent and steady feed rate throughout your planing process.
When planing, apply consistent pressure and keep a smooth, fluid motion to ensure an even removal of material. Avoid jerky or rushed movements, as they can lead to lines and grooves. Take your time and let the hand planer do the work while keeping a steady and controlled feed rate.
Troubleshooting Tips:
- Maintain a consistent feed rate by applying steady pressure and using a smooth, fluid motion.
- Avoid rushing or jerking the planer, as it can result in uneven cuts and lines.
- If your feed rate varies, practice planing on scrap wood to develop a steady and consistent technique.
Additional Tips for Using a Hand Planer
Now that we have explored some common causes of lines left by hand planers, let’s delve into a few additional tips that can help you achieve optimal results when using a hand planer.
1. Sharp Blades
Maintaining sharp blades is crucial for achieving clean and smooth cuts with your hand planer. Make sure to regularly check the sharpness of your blades and sharpen or replace them as needed. Dull blades can leave unwanted lines and ruin the quality of your work.
Using a honing guide or seeking professional sharpening services can ensure that your blades are properly sharpened. Investing in high-quality blades can also make a significant difference in the performance and results of your hand planer.
2. Proper Alignment and Adjustment
Before starting a planing project, take the time to ensure that your hand planer is properly aligned and adjusted. Check that the blades are set at the correct angle and are aligned parallel to the sole of the planer. Misaligned blades can cause lines and uneven cuts.
Refer to the manufacturer’s instructions or consult online resources for guidance on how to properly align and adjust your hand planer. Taking these steps will help optimize its performance and minimize the chances of leaving lines.
3. Planing Direction
The direction in which you plane can also affect the quality of your results. Whenever possible, try to plane along the grain of the wood. This will help prevent tearout and minimize the appearance of lines or grooves left by the planer.
If you encounter areas of the wood with changing grain direction, make sure to plane with the grain in each section, adjusting your technique as needed. By planing in the same direction as the wood grain, you can achieve smoother and more consistent results.
Final Thoughts
If you find that your hand planer is leaving lines or grooves in the wood, it can be frustrating. However, by understanding the possible causes and implementing the troubleshooting tips and techniques discussed in this article, you can overcome this issue and achieve smooth and flawless results with your hand planer.
Remember to check your blades for sharpness, adjust the depth of cut correctly, consider the wood grain and adjust your planing technique accordingly, and maintain a consistent feed rate. By following these practices and incorporating the additional tips, you’ll be well on your way to mastering the art of hand planing and achieving professional-quality results.
Key Takeaways: Why Is My Hand Planer Leaving Lines?
- A hand planer may leave lines due to dull blades.
- Uneven pressure while planing can cause lines to appear.
- Using low-quality or improperly set blades can result in lines.
- Dry wood can cause lines to form during planing.
- Not sanding the wood surface before planing can leave lines.
Frequently Asked Questions
Are you experiencing lines left behind by your hand planer? Find answers to common questions below.
1. Why do I see lines on the surface when using my hand planer?
Lines left on the surface by a hand planer may occur due to several factors. One possible cause is an uneven blade. Check if the blade is sharp and properly aligned. Another potential reason is the planer’s adjustment. Make sure the depth adjustment setting is correct and that the planer is properly balanced. Lastly, the wood grain could be the culprit. Some types of wood, like highly figured wood, may be prone to leaving lines. In such cases, it’s best to adjust your planing technique or try a different type of wood.
Keep in mind that it is normal for small lines to appear when using a hand planer. However, if the lines are significant and impacting the smoothness of the wood, it’s essential to troubleshoot and correct any issues with the planer or technique before continuing.
2. How can I prevent lines from appearing when using a hand planer?
To prevent lines from appearing on the surface when using a hand planer, there are a few steps you can take. Firstly, ensure that your planer’s blade is sharp and properly aligned. Dull or misaligned blades can cause lines. Next, pay attention to the planer’s adjustment. Double-check and properly set the depth adjustment and ensure the planer is well-balanced. Additionally, try adjusting your planing technique. Applying even pressure and using smooth, continuous strokes can help minimize lines. Lastly, consider the wood grain. Some types of wood may be more prone to leaving lines. Experiment with different types of wood to find ones that are less likely to show lines.
Remember that practice makes perfect. It may take some experimentation and refinement of your technique to achieve a smooth, line-free surface. Don’t be discouraged if it doesn’t happen right away. Keep trying different approaches until you find the optimal method for achieving the desired results.
3. Can a dull blade cause lines when using a hand planer?
A dull blade can indeed cause lines to appear when using a hand planer. When the blade is dull, it struggles to cut through the wood cleanly, leading to uneven surfaces and lines. It’s important to regularly check and sharpen the blade of your hand planer to maintain optimal performance. Sharpening the blade not only helps prevent lines but also ensures smoother and more efficient planing overall. It’s also worth noting that a dull blade is more likely to leave tear-out marks, which can further contribute to the appearance of lines.
If you notice lines becoming more prominent or if you have been using the planer frequently without sharpening the blade, it’s a good idea to inspect the blade for sharpness and give it the necessary maintenance it requires.
4. How can I align the blade on my hand planer to avoid lines?
Properly aligning the blade on your hand planer is crucial for avoiding lines on the surface. To align the blade, start by removing the blade from the planer. Then, use a flat surface, such as a sharpening stone or a flat reference surface, to check if the blade is straight. If it appears bent or uneven, it may need to be replaced. If the blade is in good condition, reattach it to the planer, ensuring that it is parallel to the planer’s base and centered.
Once the blade is reattached, double-check and adjust the blade height to ensure it is aligned properly with the planer’s adjustment setting. This will help prevent lines caused by an uneven blade height. Remember to follow the manufacturer’s instructions for aligning and adjusting the blade, as specific steps may vary depending on the model and brand of your hand planer.
5. Are there any alternatives to hand planers that may produce smoother surfaces?
If you’re struggling with lines appearing on the surface when using a hand planer, there are alternative tools that may produce smoother results. Some alternatives include power planers, which are handheld electric tools that can remove material quickly and efficiently. Power planers often have an advantage in terms of blade sharpness and consistency, allowing for smoother surfaces. Another option is a hand scraper, which can be used to finely refine and smooth the surface after using a hand planer. Hand scrapers are manual tools that require manual skill and technique, but they can yield excellent results when used correctly.
Consider experimenting with different tools and techniques to find the one that suits your needs best. It’s also worth noting that improving your planing technique with a hand planer may lead to smoother results over time. Practice and patience are key to achieving the desired smoothness in your woodworking projects.

What a Planer Should Sound Like. Signs of a Dull Planer
Summary
If your hand planer is leaving lines, there are a few things you can do to fix this problem. First, make sure your blades are sharp and not dull. Secondly, adjust the depth of cut to remove thinner shavings. Also, try planing in the opposite direction of the grain to reduce tear-out. Be sure to check your technique and keep a steady pace to avoid lines. Lastly, clean your planer regularly and make sure there are no debris or buildup affecting its performance.
Remember, having lines on your wood is a common issue with hand planers, but by following these tips, you can easily solve the problem. Keep your blades sharp, adjust the depth, be aware of the grain direction, maintain proper technique, and clean your planer regularly. Now you’ll be able to use your hand planer like a pro and get smooth, line-free results every time!