What is the best way to clean drill bits? If you’re a DIY enthusiast or even just starting to explore the world of tools, this is a question you might find yourself asking. Keeping your drill bits clean is essential for maintaining their efficiency and lifespan. In this article, we will explore some effective methods to help you keep your drill bits in top shape.
Cleaning drill bits may seem like a daunting task, but fear not! We’ve got you covered. We’ll walk you through step-by-step instructions on how to clean your drill bits easily and effectively. From everyday household items to specialized cleaning solutions, we’ll discuss various options that cater to different preferences and budgets.
So, whether you’re a seasoned pro or just starting out, join us on this journey to discover the best way to clean drill bits. By following our tips and tricks, you’ll ensure that your drill bits stay sharp, perform at their best, and are ready for your next project. Let’s dive in and unlock the secrets to a sparkling clean set of drill bits!
Step-by-Step Guide:
- Remove the drill bit from the drill or chuck.
- Wipe off any visible dirt or debris using a clean cloth or brush.
- Prepare a mixture of warm water and mild soap.
- Soak the drill bit in the soapy water for a few minutes.
- Scrub the drill bit gently with a soft brush to remove any stubborn stains.
- Rinse the drill bit thoroughly with clean water.
- Dry the drill bit completely before reinserting it into the drill or chuck.
Regularly cleaning your drill bits will help maintain their cutting performance and extend their lifespan.
The Best Way to Clean Drill Bits: A Comprehensive Guide
Keeping your drill bits clean and well-maintained is essential for their longevity and optimal performance. In this article, we will explore the best methods and tools to effectively clean your drill bits and keep them in top shape. Whether you are a DIY enthusiast or a professional, this guide will provide you with valuable insights on how to maintain your drill bits for long-lasting use.
Why is it important to clean drill bits regularly?
Before we dive into the different cleaning methods, let’s discuss why regular cleaning is crucial for your drill bits. Over time, drill bits can accumulate debris, rust, and other contaminants that can hinder their performance. Dirty drill bits are less efficient and can cause rough cuts or even damage to the material you are working on. Cleaning your drill bits regularly not only ensures smooth and precise drilling but also extends their lifespan, saving you money in the long run.
The Soaking Method: A Deep Clean for Stubborn Residue
If your drill bits are covered in a thick layer of residue or rust, the soaking method is an effective way to break down and remove stubborn contaminants. Here’s how you can do it:
- Fill a container with a suitable cleaning solution such as vinegar or a commercial drill bit cleaner. Ensure that the container is large enough to fully submerge the drill bits.
- Remove the drill bits from your drill and carefully place them in the container, ensuring that they are completely submerged in the cleaning solution.
- Let the drill bits soak for at least 30 minutes to allow the cleaning solution to penetrate and dissolve the residue.
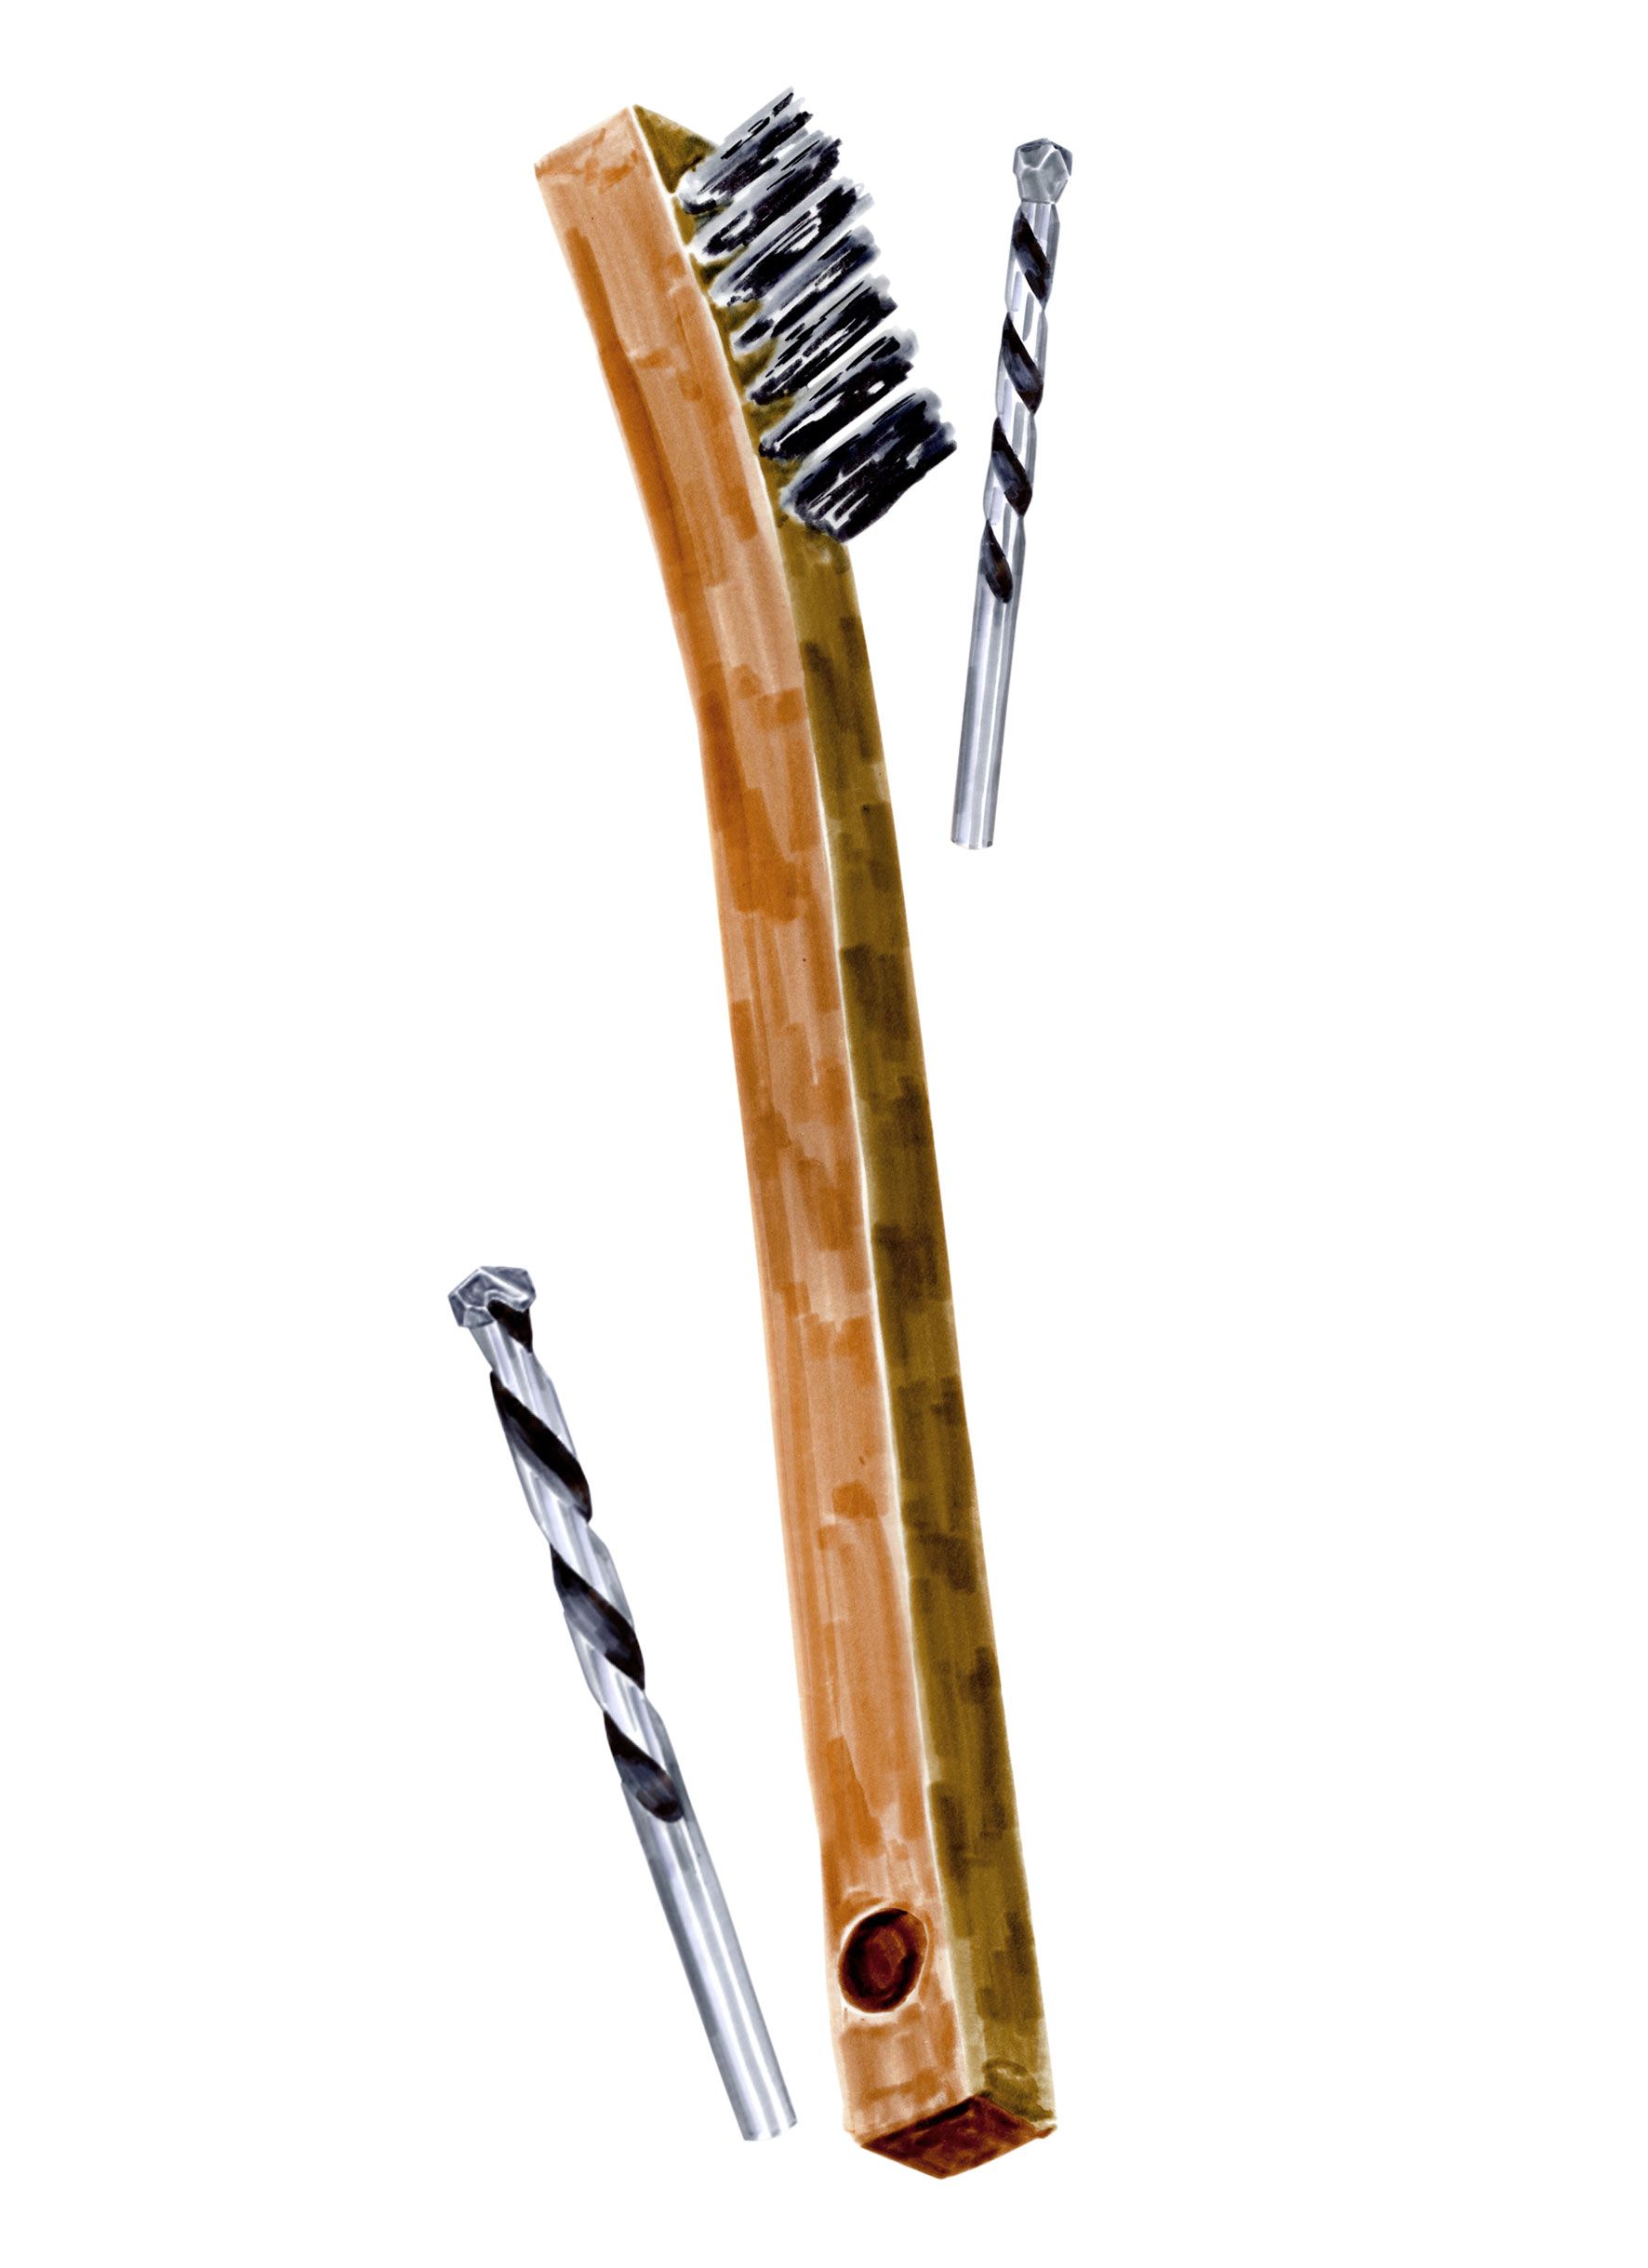
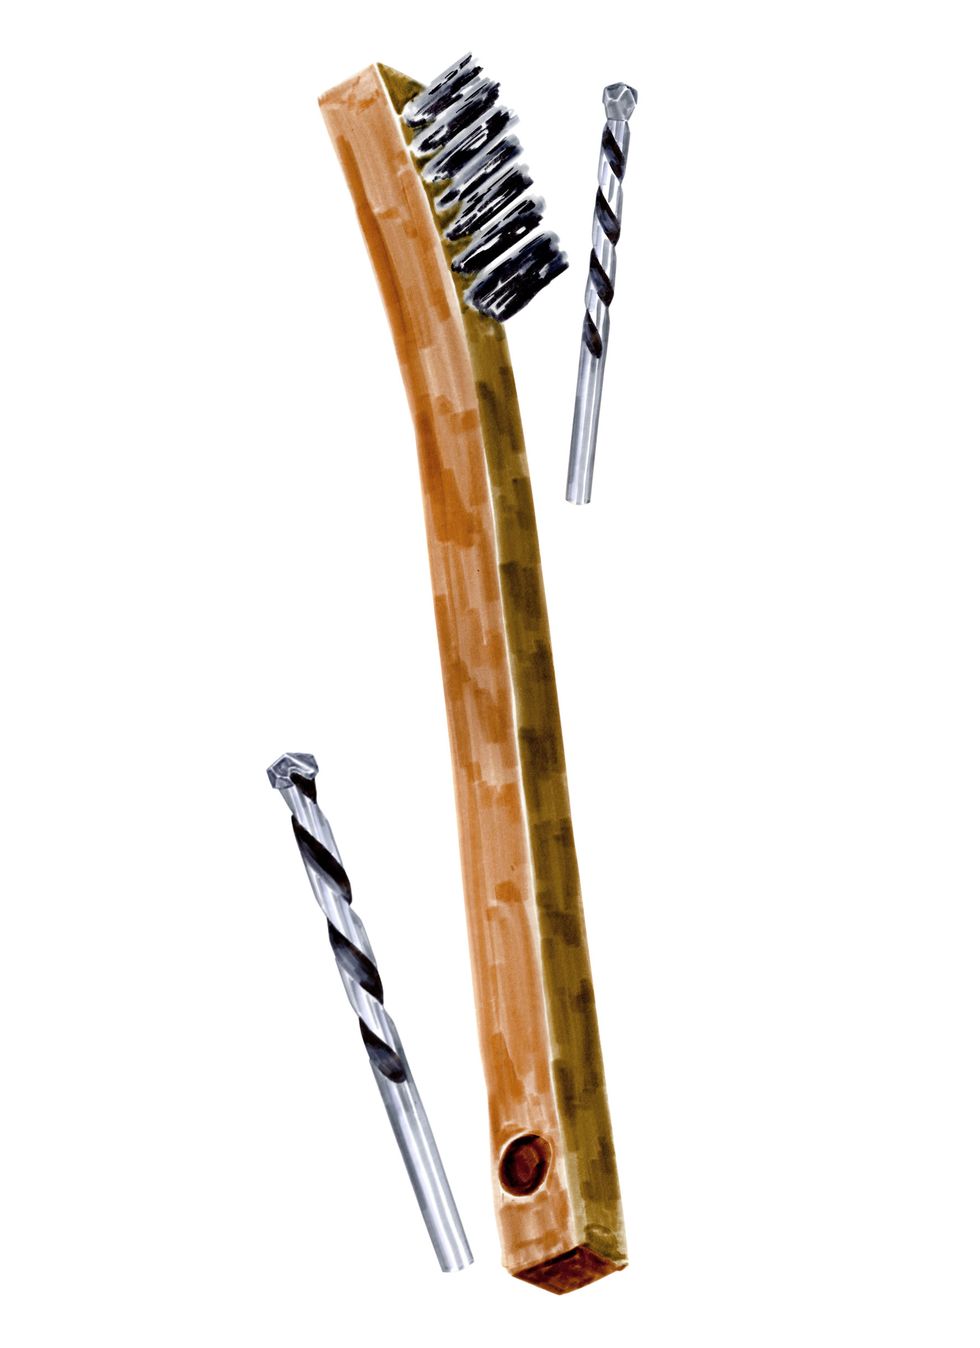
- After soaking, use a wire brush or an old toothbrush to scrub away any remaining debris. Pay special attention to the flutes, which are the spiral grooves on the drill bit.
- Rinse the drill bits thoroughly with water to remove any cleaning solution or debris.
- Dry the drill bits completely before storing or using them again.
The soaking method is ideal for heavily soiled drill bits or those with stubborn rust. It effectively removes residue and restores the sharpness of the cutting edges, ensuring optimal drilling performance.
The Power Tool Cleaning Method: Quick and Convenient
If you prefer a faster and more convenient way to clean your drill bits, using power tools like a wire brush attachment or a bench grinder can be highly effective. Follow these steps:
- Attach a wire brush to a power drill or secure your drill bits in a bench grinder, ensuring they are fastened tightly.
- Turn on the power tool and gently press the brush or the drill bit against the bristles or grinding wheel.
- Move the brush or grinder across the surface of the drill bits, focusing on the flutes and cutting edges.
- Continue until all debris, rust, and residue have been thoroughly cleaned.
- Inspect the drill bits for any remaining debris and repeat the process if necessary.
- Once cleaned, wipe the drill bits with a clean cloth to remove any loose particles.
The power tool cleaning method is ideal for regular maintenance and light to moderate cleaning of drill bits. It is quick, convenient, and allows you to clean multiple bits efficiently.
Tips for Maintaining and Extending the Life of Your Drill Bits
In addition to regular cleaning, following these tips will help you maintain your drill bits and ensure their longevity:
- Always wear safety goggles and protective gloves when cleaning or handling drill bits.
- Store your drill bits properly in a clean and dry environment, away from moisture and corrosive substances.
- Use cutting lubricants or drilling oils to reduce friction and heat generation, especially when working on metal.
- Inspect your drill bits before each use to ensure they are in good condition, free from damage or excessive wear.
- Replace drill bits that are dull, chipped, or damaged to maintain precision and safety during drilling operations.
By implementing these maintenance practices, you can maximize the lifespan and performance of your drill bits, saving you time and money in the long run.
Choosing the Right Cleaning Method for Your Drill Bits
Now that you have a comprehensive understanding of the different cleaning methods for drill bits, let’s explore some key factors to consider when choosing the right method:
Material and Coating
The material and coating of your drill bits play a significant role in determining the appropriate cleaning method. For high-speed steel (HSS) drill bits, both the soaking method and power tool cleaning method work well. However, if you have coated drill bits like titanium or cobalt, it is best to avoid abrasive cleaning methods that may damage the coating.
Extent of Contamination
If your drill bits only have light residue or surface dirt, the power tool cleaning method will suffice. However, for stubborn residue, rust, or heavily soiled bits, the soaking method provides a deeper and more thorough clean.
Time and Convenience
Consider your schedule and the time you are willing to spend on cleaning your drill bits. The power tool cleaning method is faster and more convenient, making it suitable for quick maintenance and regular cleaning. On the other hand, the soaking method requires more time but delivers excellent results for intensive cleaning sessions.
Cleaning Solution
While the soaking method often utilizes commonly available household items like vinegar, there are also commercial drill bit cleaners specifically formulated for removing residue and rust. These cleaners can provide additional benefits such as improved rust prevention and added lubrication. Choose the cleaning solution that suits your needs and preferences.
By considering these factors, you can choose the ideal cleaning method that effectively cleans your drill bits while preserving their quality and performance.
Conclusion
Regularly cleaning your drill bits is essential for maintaining their performance, longevity, and safety. Whether you opt for the soaking method or the power tool cleaning method, ensure that you follow the appropriate steps and take necessary precautions. By incorporating these cleaning techniques into your routine and following the maintenance tips provided, you can ensure that your drill bits remain in optimal condition, allowing you to tackle any drilling task with ease and precision.
Key Takeaways: What is the best way to clean drill bits?
- 1. Soak the drill bits in a solution of warm water and dish soap to remove dirt and debris.
- 2. Use a wire brush or toothbrush to scrub away any stubborn buildup on the drill bits.
- 3. For tougher stains or rust, mix equal parts vinegar and water and soak the drill bits for a few hours.
- 4. Dry the drill bits thoroughly after cleaning to prevent rust and corrosion.
- 5. Consider using a drill bit sharpener to restore the sharpness of the drill bits after cleaning.
Frequently Asked Questions
Welcome to our FAQ section on the best way to clean drill bits. Here, we’ll address some common questions you may have about keeping your drill bits clean and in top condition. Read on to find out more!
1. How often should I clean my drill bits?
It’s important to clean your drill bits regularly to maintain their performance and longevity. The frequency of cleaning will depend on how often you use your drill and the materials you’re working with. As a general rule, it’s a good idea to clean your drill bits after each use or at least once a month if you’re a frequent user. Regular cleaning will prevent debris buildup and ensure optimal drilling performance.
When cleaning, make sure to remove any excess debris or residue from the drill bit surface. This can be done using a stiff brush or a dedicated bit cleaning tool. If the drill bit is heavily soiled, you may need to soak it in a cleaning solution or use a wire brush to remove tougher buildups.
2. What is the best method to clean drill bits?
The best method to clean drill bits depends on the type of material they are made from. For metal drill bits, you can use a solvent-based cleaner or a rust-removing solution. Soak the bits in the solution for a few minutes, then use a wire brush or scrubbing pad to remove any remaining debris. Rinse the bits thoroughly with water and dry them before storing.
For wood or plastic drill bits, a simple wipe with a clean cloth or paper towel should suffice. Make sure to remove any sawdust or residue from the flutes and cutting edges. Avoid using harsh chemicals or abrasive materials as they can damage the drill bit surface.
3. Can I clean drill bits with household cleaners?
While some household cleaners may be effective at removing dirt and grime from drill bits, it’s important to exercise caution. Harsh chemicals or abrasive cleaners can damage the surface of the drill bits, affecting their performance and longevity. It’s best to use cleaning solutions specifically designed for drill bits or consult the manufacturer’s recommendations.
If you’re unsure about using a particular household cleaner, it’s always a good idea to test it on a small, inconspicuous area of the drill bit first. If there are no adverse effects, you can proceed with cleaning the entire bit. However, it’s best to stick to recommended cleaning methods to ensure the longevity of your drill bits.
4. Is it necessary to lubricate drill bits after cleaning?
After cleaning your drill bits, it’s generally a good idea to apply a thin layer of lubricant to prevent rust and corrosion. This is especially important for metal drill bits. You can use a light machine oil or a corrosion inhibitor specifically designed for drill bits. Apply a small amount of lubricant to the surface of the bits and spread it evenly using a clean cloth or a brush. This will help protect the drill bits and ensure smooth operation during future use.
For wood or plastic drill bits, lubrication may not be necessary, but it won’t hurt to apply a thin coat of wax or silicone-based lubricant to keep them in good condition.
5. How should I store cleaned drill bits?
Proper storage is essential to keep your cleaned drill bits in optimal condition. After cleaning and drying the bits, it’s best to store them in a dry, clean container or a dedicated drill bit case. This will protect the bits from moisture, dust, and other contaminants that can affect their performance. You can also label or organize the storage container to easily identify different sizes and types of drill bits.
Avoid storing the drill bits in a damp or humid environment, as this can lead to rust and corrosion. It’s also a good idea to periodically inspect the stored drill bits for any signs of damage or wear and replace them if necessary.

Summary
Cleaning drill bits is important for keeping them sharp and working effectively. Here are some key points to remember:
Drill bits can be cleaned with simple household materials like vinegar, baking soda, or a wire brush. By soaking the bits in vinegar or scrubbing them with a paste of baking soda and water, you can remove dirt and grime. After cleaning, make sure to dry the bits thoroughly to prevent rust. For tougher deposits, a wire brush can be used. Always wear safety goggles and gloves when cleaning drill bits to protect yourself.
Regular maintenance is essential to extend the lifespan of your drill bits. After each use, make it a habit to wipe off any debris or dust. This will prevent the bits from becoming clogged and give them a longer working life. Additionally, storing drill bits in a dry place away from moisture will help prevent rust. Taking care of your drill bits will ensure they stay in good condition and continue to work effectively.