
If you’re wondering where to start wood carving, you’ve come to the right place! Wood carving is a fascinating craft that allows you to transform a simple piece of wood into a beautiful work of art. In this article, we’ll explore the basics of wood carving and guide you on your journey to becoming a skilled wood carver. So, let’s dive in and discover the wonderful world of wood carving together!
When it comes to getting started with wood carving, the first thing you need is the right tools. From carving knives and gouges to chisels and mallets, having the proper tools will make all the difference in your carving experience. Don’t worry if you’re not sure where to find these tools – we’ll help you with that too!
Once you have your tools, it’s time to choose a project. Whether you want to carve a small figurine, a decorative spoon, or a detailed relief carving, there are endless possibilities. Start with a simple design and gradually challenge yourself as you gain more experience. Remember, wood carving is all about patience and practice!
So, if you’re ready to embark on an exciting wood carving journey, let’s take the first step together and discover where to start wood carving! Grab your tools, unleash your creativity, and get ready to bring wood to life with your carving skills. Let’s get carving!
Where to Start Wood Carving: A Beginner’s Guide
Wood carving is a versatile and rewarding craft that allows you to create beautiful pieces of art from a single block of wood. If you’re new to wood carving and wondering where to start, you’ve come to the right place. In this guide, we’ll walk you through the essential steps and provide useful tips to help you embark on your wood carving journey. So, let’s dive in!
Choosing the Right Tools
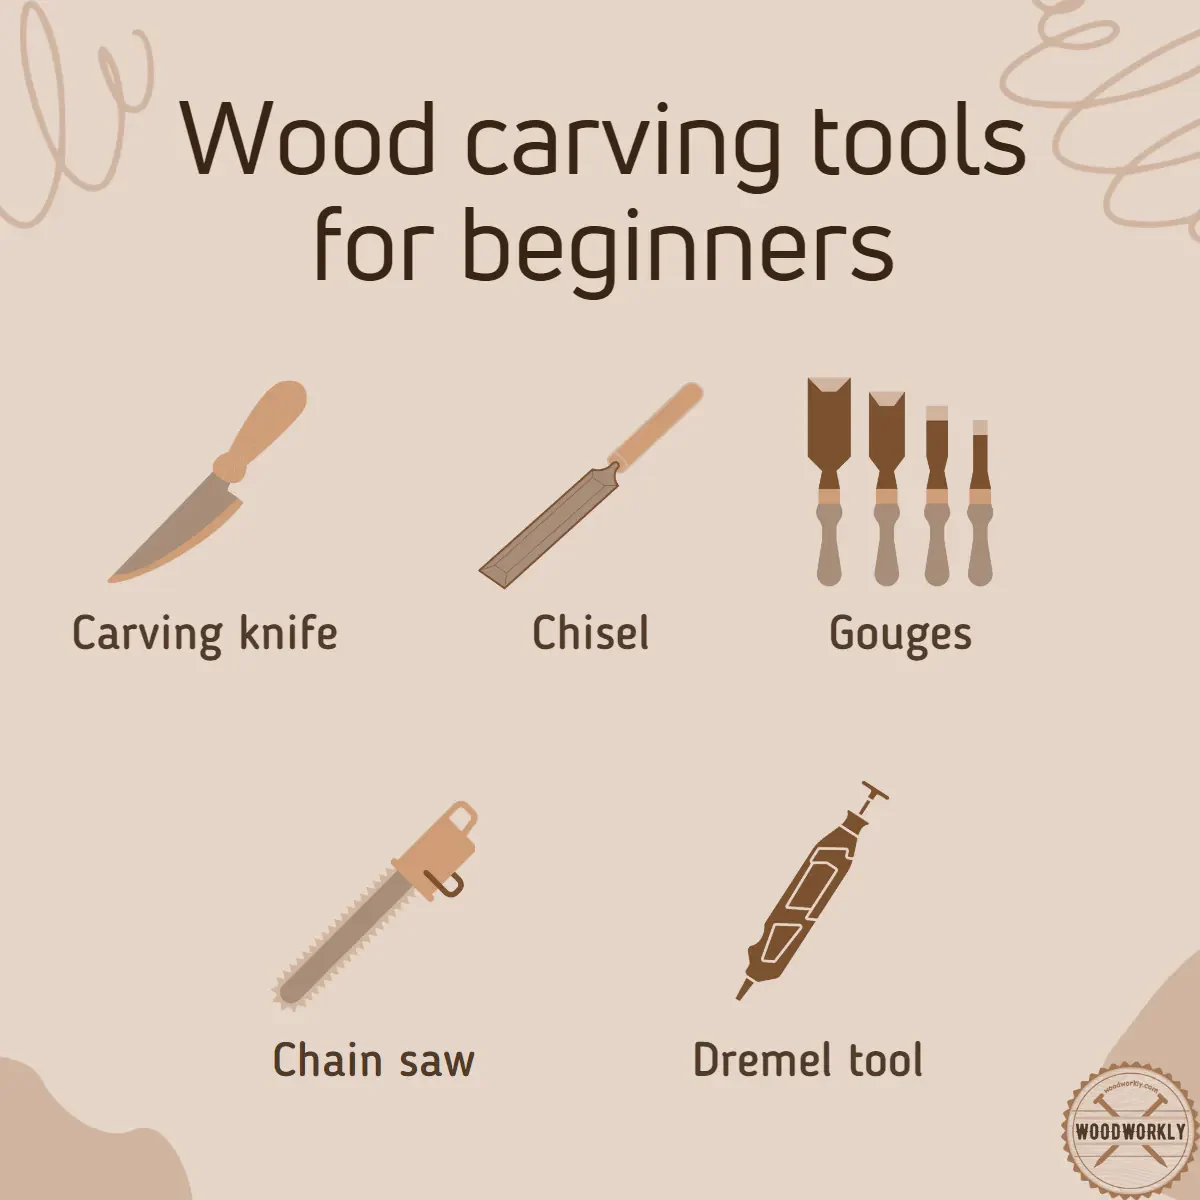
Choosing the right tools is crucial for a successful wood carving experience. Here are the essential tools every beginner should have:
- A carving knife: Look for a carving knife with a sharp, sturdy blade and a comfortable handle. It should be able to make precise cuts and allow for easy maneuverability.
- Gouges: Gouges are curved chisels used for shaping and carving wood. Start with a few basic sizes, such as a wide gouge for rough shaping and straight gouges for finer details.
- A carving mallet: A carving mallet is used to strike the carving tools and make controlled cuts. Choose a mallet with a comfortable grip and the right weight for your carving needs.
- Safety equipment: Always prioritize safety. Wear protective gloves, safety glasses, and a dust mask to protect yourself from potential accidents and wood dust.
Investing in quality tools will not only make your carving experience more enjoyable but also produce better results. Consider starting with a beginner’s carving set that includes the essential tools mentioned above.
Preparing Your Wood
Before you start carving, it’s important to select the right type of wood and prepare it properly. Here are some tips to help you get started:
- Choose the right wood: Softwoods like basswood, pine, and butternut are great choices for beginners. They are easy to carve and work with, allowing you to develop your carving techniques.
- Acquire a seasoned piece of wood: Seasoned wood has had time to dry, reducing the risk of cracks and warping. You can buy pre-seasoned wood or let freshly cut wood dry for several months.
- Prepare the wood: Use a bandsaw or handsaw to cut your wood block into a manageable size. Then, use a drawknife or a hand plane to flatten the surface and remove any rough spots.
- Transfer your design: If you have a specific design in mind, use carbon paper or tracing paper to transfer the design onto the wood before you start carving.
By preparing your wood properly, you’ll have a solid foundation for your carving project and ensure better results in the end.
Mastering Basic Techniques
To excel in wood carving, mastering the basic techniques is essential. Here are a few techniques to get started:
- Chip carving: Chip carving involves making small, triangular-shaped cuts to create intricate patterns and designs. Practice controlling the depth and angle of your cuts to achieve different effects.
- Relief carving: Relief carving is the art of carving a design that appears raised from a background. Start with a simple design and gradually work on creating depth and dimension in your carvings.
- Whittling: Whittling is the process of carving with a knife to remove small, thin shavings of wood. It’s a great technique for creating figurines, spoons, and other small objects. Focus on maintaining a steady grip and making controlled cuts.
- Finishing techniques: Learning how to sand, stain, and finish your wood carvings will enhance their beauty and protect the wood. Experiment with different finishes and techniques to find the one that suits your style.
Remember, practice is key to improving your skills as a wood carver. Start with small projects and gradually work your way up to more complex designs. Don’t be afraid to make mistakes, as they are opportunities for growth and learning.
Tools for Wood Carving
Essential Tools for Wood Carving
When it comes to wood carving, having the right tools can make all the difference. Here are the essential tools every woodcarver needs in their arsenal:
- A carving knife: The backbone of any wood carver’s toolset, a carving knife allows for precise and intricate cuts.
- Gouges: Gouges come in different shapes and sizes, allowing for various carving techniques and creating different effects.
- A mallet or hammer: Used to strike the carving tools, a mallet helps in shaping the wood and making controlled cuts.
- A sharpening stone: Keeping your carving tools sharp is crucial for achieving clean and smooth cuts. Invest in a high-quality sharpening stone for maintaining the sharpness of your tools.
- Safety equipment: Wood carving involves sharp tools and can produce wood chips and dust. Ensure you have safety gloves, safety glasses, and a dust mask for protection.
While these are the essential tools for wood carving, you can expand your collection as you progress and take on more complex projects. Remember to invest in quality tools that will last and provide optimal results.
Additional Tools for Advanced Wood Carving
As you become more experienced and take on advanced wood carving projects, you may find the need for additional tools that cater to specific techniques or designs. Here are a few additional tools you might consider adding to your collection:
- Power carvers: Power carvers are electric or pneumatic tools that make wood carving faster and more efficient. They allow for precise cuts and are particularly useful for removing large amounts of wood.
- Woodburning tools: Woodburning or pyrography involves creating designs using heat. Adding a woodburning tool to your collection can open up a whole new world of artistic possibilities.
- Chisels: Chisels are similar to gouges but with a straight cutting edge. They are useful for creating straight lines, flat surfaces, and fine details.
- Band saw: A band saw is a powerful tool that allows you to cut through large pieces of wood with precision. It’s particularly useful for roughing out the initial shape of your carving.
These additional tools can help expand your wood carving capabilities and allow you to explore more intricate designs and techniques. However, they are not necessary for beginners and can be added to your collection as you progress.
Tips for Starting Wood Carving
Starting a new hobby like wood carving can be intimidating, but with the right mindset and approach, it can be an incredibly rewarding experience. Here are some tips to help you get started:
- Start with simple projects: Begin with small, manageable projects that allow you to practice the basic techniques. As you gain confidence and skill, gradually progress to more complex designs.
- Attend workshops or join carving clubs: Learning from experienced carvers and being a part of a community can provide valuable guidance, feedback, and support.
- Take care of your tools: Keeping your tools clean and sharp is essential for achieving clean and precise cuts. Learn proper tool maintenance techniques and make it a habit to care for your tools.
- Be patient and persistent: Wood carving requires patience and practice. Don’t get discouraged by mistakes or slow progress. Stay persistent and focus on continuous improvement.
Remember, wood carving is an art form that takes time to develop. Enjoy the process, embrace the learning curve, and let your creativity guide you. Don’t be afraid to experiment and find your unique style as a wood carver.
Common Mistakes to Avoid in Wood Carving
Choosing the Wrong Wood
Choosing the wrong type of wood for your carving can lead to frustration and disappointment. Softwoods like basswood, pine, and butternut are ideal for beginners as they are easier to carve and work with. Avoid hardwoods like oak or mahogany until you have more experience and confidence in your carving skills.
Skipping the Design Phase
Many beginners make the mistake of rushing into the carving process without taking the time to plan and design their piece. Sketching out your design and considering its feasibility before you start carving will save you time and ensure a more successful outcome. Take reference photos or use templates to help you visualize your carving.
Not Practicing Proper Technique
Proper technique is key to achieving clean and precise cuts in wood carving. Beginners often make the mistake of using too much force or not angling their tool correctly, resulting in rough or uneven carvings. Take the time to learn and practice the proper grip, angle, and pressure required for different cuts.
Not Using Safety Equipment
Safety should be a top priority in wood carving. Not using safety equipment like gloves, safety glasses, and a dust mask can lead to accidents or health issues. Always wear appropriate safety gear to protect yourself from potential injuries and wood dust.
Impatience and Rushing the Process
Wood carving is a slow and meticulous process that requires patience and precision. Rushing through the carving process can lead to mistakes and a lack of attention to detail. Take your time, enjoy the process, and focus on each step to ensure the best results.
Conclusion
Wood carving is a timeless craft that allows for creativity and self-expression. With the right tools, proper technique, and a passion for learning, you can embark on a fulfilling wood carving journey. Remember to start with the essential tools, select the right wood, and practice the basic techniques. Be patient, embrace the learning curve, and don’t be afraid to make mistakes. Wood carving is a skill that improves with practice, so keep carving and let your creativity soar!
Key Takeaways: Where to Start Wood Carving?
- Start by researching different wood carving techniques and styles.
- Invest in basic wood carving tools, such as carving knives and gouges.
- Practice carving on softwood before moving on to hardwood.
- Join wood carving classes or workshops to learn from experienced carvers.
- Stay patient and persistent as wood carving requires practice to master.
Frequently Asked Questions
If you’re interested in getting started with wood carving but don’t know where to begin, you’ve come to the right place. Below are some common questions beginners have when starting their wood carving journey.
1. How can I find the right tools for wood carving?
Finding the right tools is crucial for wood carving success. Start by investing in a few essential tools such as a carving knife, a gouge, and a chisel. Look for beginner-friendly sets that offer a variety of tools at an affordable price. Additionally, consider reaching out to local wood carving groups or workshops, as they can often recommend trusted suppliers or provide resources for purchasing quality tools.
Remember that as you progress, you can gradually expand your collection of tools to include more specialized ones. But for beginners, sticking to a few basic tools is the best way to get started without feeling overwhelmed.
2. Should I learn wood carving techniques before starting a project?
While it’s not required to learn all the wood carving techniques before starting your first project, having a basic understanding of the techniques will significantly benefit your progress. Begin by learning fundamental carving techniques such as chip carving, relief carving, and basic shaping. There are many online tutorials, books, and videos available that can guide you through these techniques step by step.
By familiarizing yourself with basic techniques, you’ll have the foundational skills necessary to approach different types of wood carving projects. As you gain experience, you can continue to expand your knowledge and skills by exploring more advanced techniques.
3. Where can I find inspiration for wood carving projects?
Inspiration for wood carving projects can come from various sources. Consider visiting local galleries, art exhibitions, or museums to see wooden sculptures or carved furniture pieces. Books and magazines about wood carving can provide inspiration as well, showcasing different styles and designs. The internet is also a vast resource for finding inspiration, with websites, social media platforms, and online communities dedicated to wood carving.
Moreover, nature itself can be a great source of inspiration. Look at the shapes and patterns of trees, leaves, and wildlife as potential subjects for your wood carving projects. Remember, the more you observe and immerse yourself in the world of wood carving, the more ideas will start flowing.
4. What type of wood should I use for my first carving project?
For beginners, it’s recommended to start with softer types of wood such as basswood or pine. These woods are easier to carve and allow beginners to practice their carving techniques without too much resistance. Basswood, in particular, is a popular choice among beginners due to its fine grain and ease of carving.
As you gain more experience and confidence in your carving skills, you can gradually move on to harder woods such as oak or walnut. Harder woods require more strength and precision in carving, but they also provide a beautiful finished product with more durable qualities.
5. How can I protect and preserve my finished wood carving projects?
Protecting and preserving your finished wood carving projects is essential to ensure their longevity and beauty. Start by applying a wood sealer or finish to protect the wood from moisture, UV rays, and other environmental factors. This will help prevent cracking, warping, or discoloration over time.
After applying a sealant, consider adding a coat of wax or polish to enhance the wood’s natural beauty and provide an additional layer of protection. Regular dusting and avoiding direct sunlight or extreme humidity are also necessary to keep your wood carving projects in optimal condition.
Everything You Need to Start Wood Carving in 10 Minutes–Top 9 Items to Buy For Knife Carving
Summary
Wood carving is a fun and creative hobby that anyone can try. To start, gather the right tools like a carving knife and gouges. Find a softwood block and sketch your design on it. Begin by carving away the excess wood, shaping your piece as you go. Practice safety by wearing gloves and protecting your work area. Remember, patience and practice are key to becoming a skilled wood carver.
When starting out, it’s important to learn different carving techniques. Start with basic cuts like the push cut, stop cut, and pull cut. Experiment with different carving styles like relief carving and chip carving. Take your time and enjoy the process. Share your work with others and don’t be afraid to make mistakes. With practice, dedication, and a love for the craft, the world of wood carving is yours to explore!